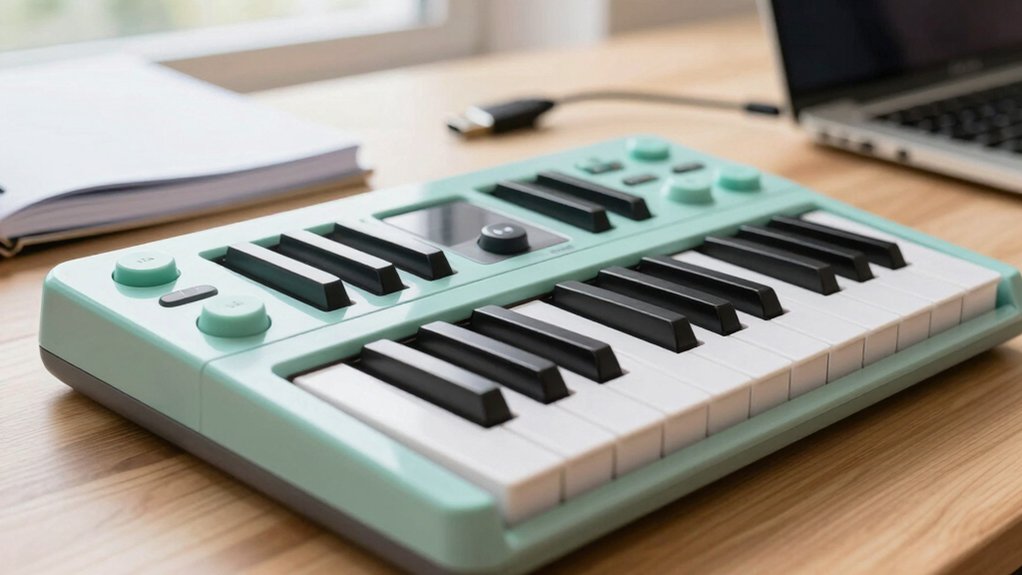
Choosing the right MIDI keyboards for beginners means understanding that these controllers don’t produce sound themselves but rather send performance data to your computer’s music software, making them fundamentally different from digital pianos despite similar appearances. The bewildering range of options—from 25-key mini controllers to 88-key weighted models.
There’s a lot you can do with a cheap MIDI keyboard, from triggering notes to shaping your own demos. You’ll want to weigh size, key feel, and how you’ll connect to your computer or tablet, because those choices shape your workflow from the start. Curious about what features actually matter for a beginner and how to set everything up with minimal friction? Let’s break it down and keep you moving forward.
Meet Your MIDI Keyboard: How It Helps Beginners
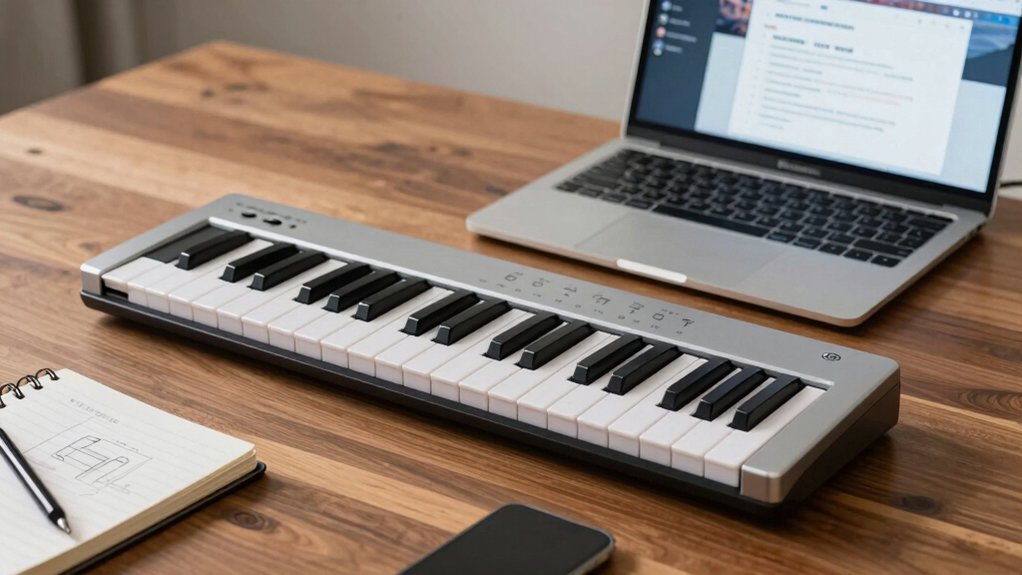
A MIDI keyboard is a simple, versatile gateway to music making. You use it to map ideas onto sound, test scales, and practice timing without committing to a full setup. The device concentrates essential functions: triggering notes, routing control signals, and recording performances.
You’ll see immediate value for learning music theory, because you can explore scales, chords, and progressions hands-on, hearing relationships clearly as you adjust tempo or key. It also supports practical use for developing performance techniques: you can repeat motifs, layer parts, and experiment with velocity to simulate expressive playing.
The keyboard’s compact footprint and USB or Bluetooth connections streamline setup, so you stay focused on learning goals. In short, it bridges foundational concepts with practical execution.
Product offers are temporarily unavailable.
Pick Your First Keyboard: Size, Keys, and Feel
Choosing your first keyboard means balancing what fits your hands, space, and goals. Start with size: compact 61-key models save room but reduce range for later expansions. If you plan to play complex pieces or use sustained pads, consider 76 or full-size 88-key options.
Feel matters: keybed stiffness, touch, and velocity response shape how you learn dynamics. Aim for consistent action across the keyboard to avoid relearning later.
Consider keyboard ergonomics to prevent strain during long sessions; a balanced stand height and proper wrist position help you develop good technique.
Key sensitivity matters for expression—glide from soft to hard strikes should be predictable. Prioritize a model with reliable aftertouch or adjustable velocity if you foresee evolving your playing style.
The Essential Features Beginners Actually Need
Here are the essential features you actually need as a beginner: reliable key action, intuitive layout, and solid reliability. You should prioritize responsive keys that feel consistent across dynamics, avoiding stiffness or dead notes.
A clean, logical midi controller layout helps you learn workflows faster and reduces distraction during practice. Consider keyboard ergonomics: proper height, wrist alignment, and smooth travel prevent strain during long sessions.
Look for straightforward controls—compact sets of transport and octave buttons—so you don’t fight the surface while composing. Build reliability matters too: solid chassis, dependable connectors, and durable pads or knobs minimize mid-session failures.
In short, choose a keyboard that supports steady practice, clear navigation, and durable performance, rather than flashy extras you won’t use.
Connecting to PC, Mac, and Tablets: I/O Essentials
You’ll want a straightforward path from your MIDI keyboard to your computer or tablet, so start with the right I/O setup. Focus on two core options: a direct USB connection or a MIDI cable with an interface.
USB connection is simplest: plug-and-play on most PCs and Macs, with minimal fuss and reliable power. It also supports bus-powered keyboards, reducing extra cords. If your device relies on older hardware or you’re using a tablet, a dedicated MIDI interface with a USB or Lightning/USB-C adapter may be necessary.
In any case, confirm the cable or interface meets standard MIDI specifications and supports the needed data rate. Don’t overlook packaging, as a compact, well-labeled bundle reduces misconnection risk and setup time.
Software and Drivers: DAWs, Plugins, and Compatibility
You’ll want to confirm DAW compatibility and plug-in formats early, since the right combo reduces setup friction.
We’ll cover basic driver installation steps, common DAW formats, and how these choices affect performance and workflow.
This sets the foundation for stable, efficient music creation with your MIDI keyboard.
Daw Compatibility Basics
DAW compatibility hinges on matching your MIDI keyboard’s drivers and class-compliant behavior with your software environment. In practice, this means confirming that your keyboard is recognized by the operating system and that the DAW can route input to MIDI tracks without extra steps.
You’ll encounter Compatibility issues when a device isn’t listed as a MIDI input, or when port names differ across programs. Focus on whether the DAW supports standard MIDI and whether it can instantiate the keyboard without additional wrappers.
Plugin formats matter: some older plugins require specific host versions or 32-bit bridges, while modern setups rely on native formats.
Guarantee the keyboard stays stable across sessions, and that you can audition basic MIDI data without nuisance troubleshooting.
Summary: verify detection, routing, and format support upfront.
Driver Installation Steps
Installing drivers and configuring software correctly is essential before using a MIDI keyboard, as proper setup guarantees reliable communication with your DAW, plugins, and virtual instruments.
- Identify your device model and supported operating systems.
- Download the official driver package and any required firmware or utilities.
- Install the drivers, then connect via USB and verify MIDI input within your DAW.
- Check for MIDI protocol compatibility and perform driver updates as needed to ensure stability.
Notes:
- Keep software and firmware current to avoid dropouts or latency.
- If blocks occur, reselect the MIDI device in your settings and recheck driver status.
- Avoid third-party drivers unless officially sanctioned by the manufacturer.
- Periodically confirm updates to maintain consistent communication across your setup.
DAW Plugin Formats
DAW plugin formats define how software instruments and effects communicate with your host program, so understanding compatibility and installation paths helps you avoid setup pitfalls. You’ll encounter major plugin formats like VST, AU, and AAX, each tied to specific DAWs and operating systems. Check your DAW’s supported formats before purchasing or installing to prevent runtime errors.
The MIDI protocol governs data exchange between controllers and software, but plugin formats govern how those tools load and run inside your project. When you install, place plugins in the designated folder and scan within the DAW to register them.
Bridge options or wrapper tools can extend compatibility, but rely on native formats for stability. Stay aware of 32‑bit versus 64‑bit limitations and platform dependencies to streamline workflow.
Product offers are temporarily unavailable.
Budget Playbook: What to Buy Now vs. Later
If you’re budgeting for a beginner setup, prioritize core essentials now and defer peripherals or upgrades until you’ve confirmed your needs. You’ll want a sensible baseline to test musical interest without waste. Focus on reliable, compatible choices and plan for measured improvements.
- Budget options: choose a basic controller and a simple DAW to minimize sunk costs.
- Core vs. peripheral: lock in essential features first, like key count and velocity sensitivity.
- Short-term vs. long-term: evaluate required upgrades only after hands-on use.
- Future upgrades: map a progressive path, budgeting for higher quality keys, better controllers, and expanded software.
This approach keeps costs predictable and performance steady, guiding smarter purchasing decisions.
Quick Setup: Install, Connect, and Test Your First Sounds
Getting started is straightforward: connect your MIDI keyboard to power and your computer, then launch your chosen DAW to confirm it’s recognized.
You’ll verify input in the DAW’s preferences, selecting the correct device and driver mode.
Next, create a new project with a basic MIDI track and assign a default instrument.
Play a few notes to confirm responsiveness and latency isn’t distracting.
Keep initial tests focused on reliable playback, not full sound design.
Use this phase to consider music theory implications lightly—think about scale, tempo, and key—without deep editing.
If the keyboard isn’t detected, reinstall drivers or test on another USB port.
Once detected, test basic recording and playback, then listen for consistent velocity response before moving to more advanced sound design tasks.
Beginner Workflows: Simple Riffs, Beats, and Melodies
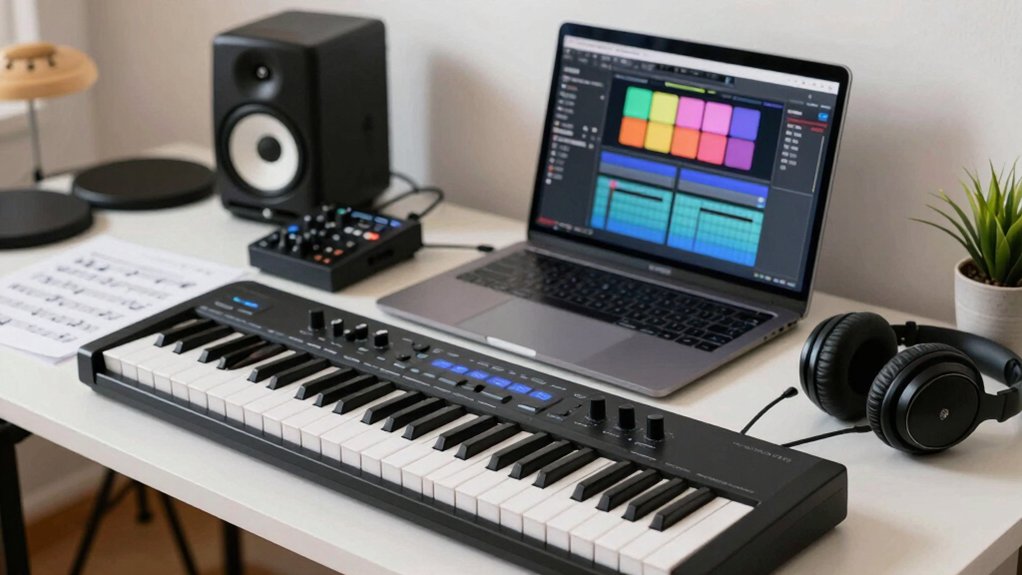
Starting with simple riffs, beats, and melodies helps you build a practical workflow fast: sketch short ideas, then expand them into full parts. You’ll align playing with music theory basics and keep execution tight through deliberate practice, focusing on timing, dynamics, and repeatable patterns. Use a loop to iterate ideas quickly, then document decisions for reference.
- Capture ideas as short motifs, then develop them into reusable phrases.
- Layer beats with basic percussion and test groove consistency.
- Align melodies to a simple scale, checking intervals and cadences.
- Review performance techniques, adjusting velocity, feel, and articulation.
This approach emphasizes concise decisions, measurable progress, and repeatable routines to accelerate learning and confidence.
Common Mistakes New Players Make (and How to Avoid Them)
Common mistakes new players make often stem from rushing practice or overcomplicating early setups. You’ll progress faster if you simplify goals and build fundamentals first.
Common pitfalls include not aligning keyboard ergonomics with your posture, which leads to tension and inconsistent timing. Prioritize consistent rhythm, clean fingering, and accurate note accuracy before adding effects or complex passages.
Don’t undervalue slow, deliberate repetition; it reinforces muscle memory more effectively than quick repetition. Create a structured practice plan with short, focused sessions and deliberate rests.
Avoid rushing through scales or chords; quality beats quantity. Track progress with short recordings to spot timing and tone issues.
Practice patience, set realistic milestones, and gradually increase difficulty as your technique solidifies.
Consider An Extended Warranty For Your Instrument
Next Steps: Expanding Your Setup as You Grow
As you grow, expanding your setup should be a planned, incremental process that enhances playability without overhauling fundamentals. You’ll want targeted upgrades that boost workflow, not clutter. Focus on infrastructure first, then add peripheral capabilities.
- Plan a compact control surface for better session routing and hands-on mixing.
- Integrate a dedicated audio interface with reliable drivers and low latency.
- Introduce microphone and monitor accommodations for realistic tracking and monitoring.
- Align software with your workflow for advanced integration across tracks and plugins.
This approach supports studio expansion without redundancy. Prioritize compatibility, expandability, and stability, ensuring each addition serves concrete goals.
Regularly reassess gear needs as you acquire new skills and genres, preventing unnecessary clutter while maximizing musical output.
Conclusion
You’ve got the basics, now build steady skills and smart setups. Start simple, stay structured, and steadily stretch scope and software as you grow. Prioritize practical, playable practice: patter, tempo, tone, and texture. Develop a dependable docking and device setup, then immerse yourself in dependable DAWs and delightful plugins. Consistency cultivates capability; curiosity compounds competence. Remember: small steps, solid systems, scalable sounds. Create confidence with clear goals, careful calibration, and continuous clever improvements.