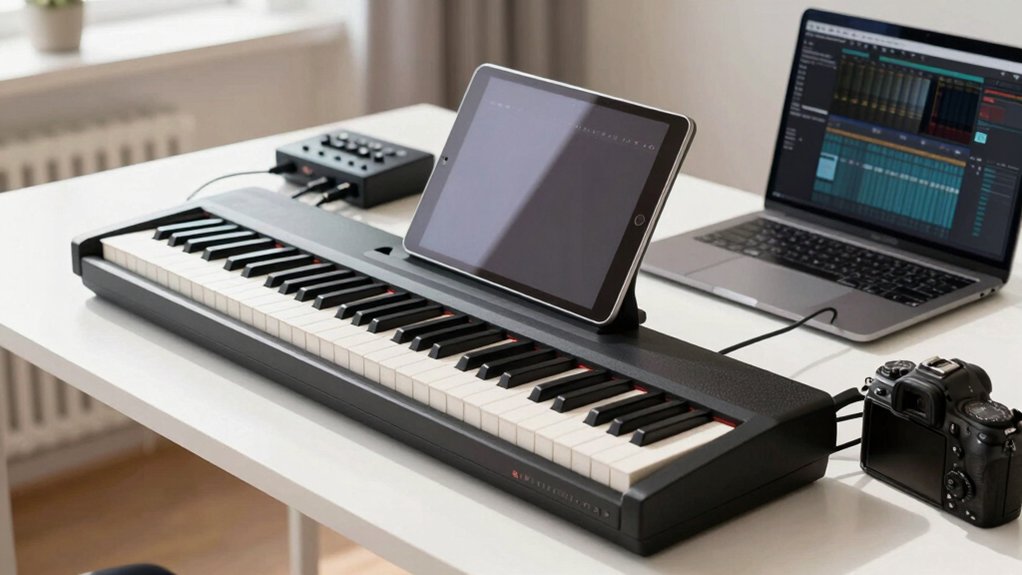
To connect your digital piano to iPad, computer, or recording software, start with a reliable USB/MIDI interface or Apple Camera Connection Kit, verify drivers, and power needs, then configure your DAW or app for low latency. Use quality cables, test timing, and enable input monitoring. Grounding and driver updates matter, and you’ll want to optimize buffer sizes and routing. The next step narrows down the exact path for your gear, so you can tighten latency and make certain of stable sync.
Tame Latency: Essential Hardware for USB, MIDI, and Audio From Digital Pianos
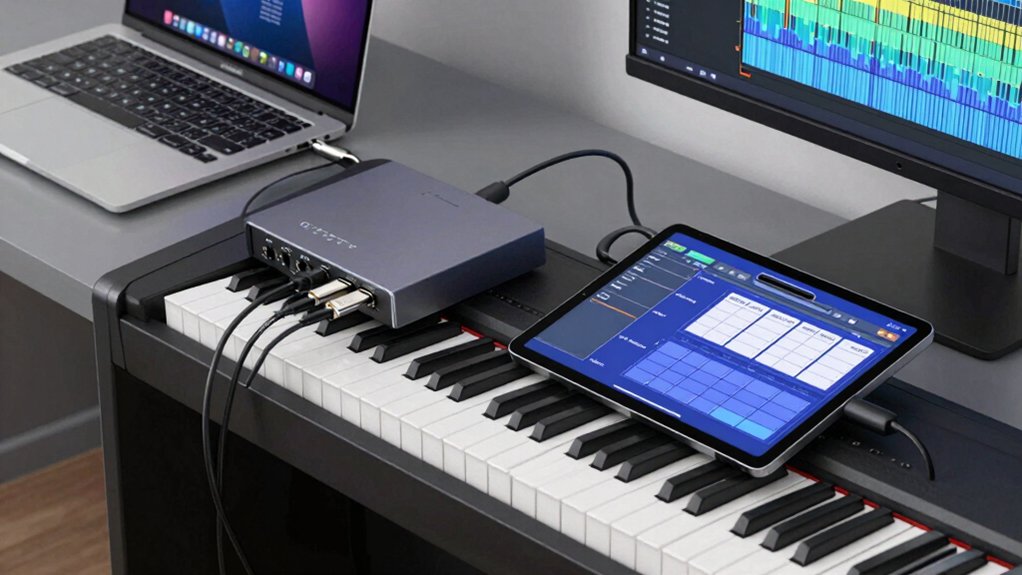
To tame latency from digital pianos, start with a solid hardware foundation: a low-latency audio interface, a reliable USB cable, and a well-supported MIDI interface if your setup separates MIDI and audio paths. You’ll prioritize devices with driver support, ASIO on Windows or Core Audio on macOS, and test round-trip times under 5–10 ms.
Consider buffer settings that balance CPU load with audible delay, and enable direct monitoring where possible. When evaluating digital piano features, verify USB class-compliant transport, low jitter, and stable clocking.
Guarantee recording software compatibility across your DAW, plugin suite, and virtual instrument host. Document throughput benchmarks and update firmware to sustain consistent performance during production sessions.
This disciplined approach minimizes latency while preserving sound integrity and responsiveness.
Choose the Right Cables and Adapters for Your Setup
You’ll map your gear’s inputs and outputs to pick cables that preserve signal integrity and minimize latency.
Start by matching connector types and impedance, then verify adapter compatibility across your piano, iPad, and computer interfaces.
This sets a reliable foundation for clean audio transfer and trouble-free workflows.
Cable Types And Uses
Choosing the right cables and adapters hinges on your devices and the tasks you plan to perform. You’ll select options by signal path, not just connector type, making sure impedance, shielding, and cable length meet your workflow.
For digital pianos, use standard USB, MIDI, or line-level trunks to your iPad, computer, or audio interface. USB-C or Lightning adapters must support bus power or external power depending on device needs, with proper OTG support where applicable.
Optical or coaxial digital cables aren’t universal for all setups, so verify your interface’s input matrix before committing.
Wireless connectivity can replace cables for some control roles, while reserved power supply options ensure stable operation during long sessions.
Always document cable endpoints and maintain clean routing to prevent noise and ground loops.
Adapter Compatibility For Gear
Adapter compatibility hinges on matching device interfaces to your workflow. You’ll assess each device’s ports (USB, MIDI, TRS, Optical) and map them to the iPad, computer, or interface you use. Prioritize gear integration that preserves latency and dynamic range; a mismatch creates jitter, noise, or clock drift.
Choose cables with correct conductors, shielding, and connector types, avoiding unnecessary adapters that add latency. If you’re recording, confirm the interface supports your DAW’s driver model and sample rate.
When using iPad apps, verify compatibility with Core MIDI and class-compliant interfaces. Label cables for quick reconfiguration and document the signal path. Maintain physical stability—use short, well-constructed cables to minimize interference.
In short, align ports, drivers, and clocks to sustain reliable adapter compatibility and cohesive gear integration.
Connecting to iPad: USB, Bluetooth, and Camera Adapters Explained
Ever wonder how to connect a digital piano to an iPad using USB, Bluetooth, or camera adapters? You’ll choose the method by your setup needs and device compatibility.
USB: use a Camera Connection Kit or Apple USB-C/Lightning adapter, connect MIDI-enabled USB to the iPad, and verify recognized input in your app.
Bluetooth: pair your piano’s Bluetooth MIDI profile; confirm status in iPad Bluetooth settings and app preferences.
Camera adapters: insert a standard USB MIDI interface into the adapter, then connect to iPad; ensure power is supplied if the hub requires it.
Wireless connectivity and power supply options influence latency and stability; opt for a powered hub when using multiple USB devices.
Test with a simple scale exercise before recording.
Routing to Recording Software: DAWS, Drivers, and Latency Basics
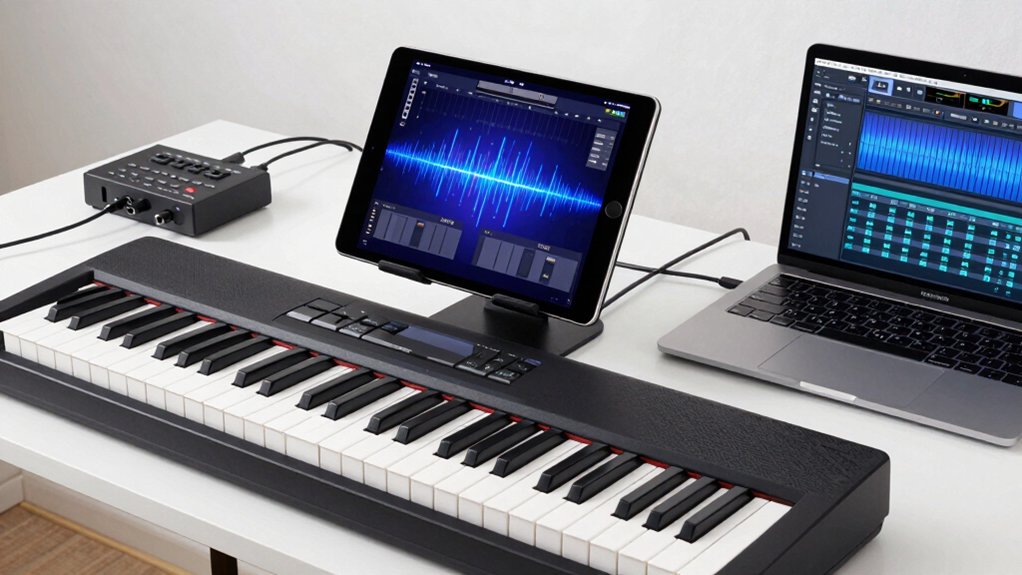
To route your digital piano into recording software, start by selecting a DAW that supports MIDI input from your interface and offers low-latency monitoring.
You’ll install the appropriate drivers for your interface, verify it appears in the DAW’s audio/MIDI settings, and enable input monitoring to hear the piano in real time.
Use a stable USB or class-compliant connection to minimize jitter, then set the correct sample rate and buffer size for your system.
In your session, route MIDI to a software instrument or record MIDI data directly for flexible editing.
Plan your MIDI mapping to map keys, pedals, and controls to desired functions.
Consider how digital piano sounds translate through your chain and how latency impacts feel.
Troubleshooting Latency and Connection Issues
You’ll start by applying latency reduction techniques and verifying buffer sizes, sample rates, and driver settings to stabilize timing.
Next, guarantee connection stability with wired links, proper USB/pedal wiring, and interference checks, then document repeatable steps for common delays.
Finally, establish a concise troubleshooting flow to identify, reproduce, and resolve latency or dropouts across iPad, computer, and software, updating your workflow as needed.
Latency Reduction Techniques
Latency is a common bottleneck when connecting a digital piano to iPads, computers, or DAWs, and addressing it requires a practical, stepwise approach. You optimize input/output paths first: use USB directly where possible, bypass USB hubs, and disable unnecessary network or wireless polling during recording sessions.
Enable native ASIO or Core Audio drivers, and select the lowest achievable buffer size while maintaining stable performance. Prioritize wireless solutions only when wired options aren’t feasible; if used, ensure low-latency modes, verified adapters, and a dedicated 2.4 GHz or 5 GHz channel with minimal interference.
Manage power consumption by keeping devices on balanced or high-performance profiles, disconnect idle peripherals, and apply firmware updates. Monitor CPU usage, audio interface clocking, and sample rates to sustain consistent latency reductions.
Continuously test and document results.
Connection Stability Tips
Even when latency is minimized, connection stability can still fluctuate; start by confirming the basics—that cables, adapters, and ports are all secure and undamaged. Verify actual signal paths: use shielded cables, tighten connectors, and test with a known-good USB or MIDI interface.
Check device compatibility modes and sample-rate settings to prevent interface renegotiation on every session. For wireless connectivity, ensure the network remains on a dedicated channel with minimal interference and disable power-saving features that disrupt timing.
Power supply considerations matter: use a reliable wall adapter or powered hub to avoid voltage dips that cause audio dropouts.
Track latency changes against cable length, adapter type, and interface firmware; document findings for reproducible corrective steps.
Troubleshoot Common Delays
Delays can stem from several common culprits, so start with a systematic check of signal flow and timing. First, verify your digital piano calibration, ensuring the correct input and MIDI/USB settings match the host.
Next, test for wireless connection issues by switching to a wired path where possible and measuring latency against benchmarks. Assess driver versions, buffer sizes, and sample rates in your recording software; set the smallest safe buffer without glitches.
Confirm clock synchronization between devices and disable any background apps that consume CPU cycles. Examine cable integrity and adapter compatibility, replacing faulty components.
If latency persists, isolate stages: instrument to interface, interface to computer, and software monitoring. Document results, then apply incremental firmware and driver updates as needed.
Pro Tips for Clean Audio, Synchronization, and Future-Proofing
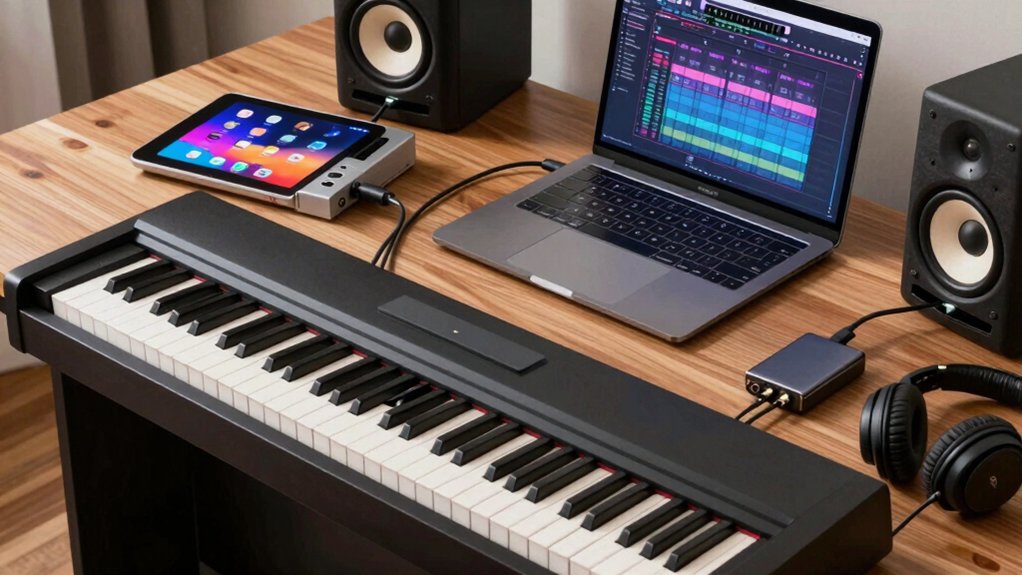
To get clean audio, lock in proper monitoring, and future-proof your setup, focus on signal integrity from instrument to input. You’ll optimize clocking, grounding, and conversion paths to preserve audio quality while keeping latency minimal.
Establish consistent gain staging, use balanced connections, and enable 48 kHz/24-bit or higher where supported. Route through a dedicated interface with solid driver support, then verify sync with your DAW’s transport and metronome.
Plan for future upgrades by modular hardware, scalable I/O, and firmware updates. Maintain a documented signal chain to simplify troubleshooting. Regularly test with reference tracks, and profile your setup after changes.
- Clear clocking and grounding reduce hum and phase issues
- Transparent gain staging preserves dynamics and detail
- Modular, upgrade-friendly paths future-proof your workflow
- Consistent monitoring builds confidence in timing and audio quality
Conclusion
In short, solid setup starts with smart, sturdy, snag-free hardware. You’ll sync swiftly when you select stable interfaces, sturdy cables, and clean drivers. Double-check power, grounding, and latency paths, then dial DAW settings for decisive, dirt-free audio. You’ll triumph through thorough testing, timely updates, and careful routing. Practically pose, persist, and pro-actively protect your project. Preserve pristine performance by planning, patching, and profiling your path to peak, precise, pro-grade production.