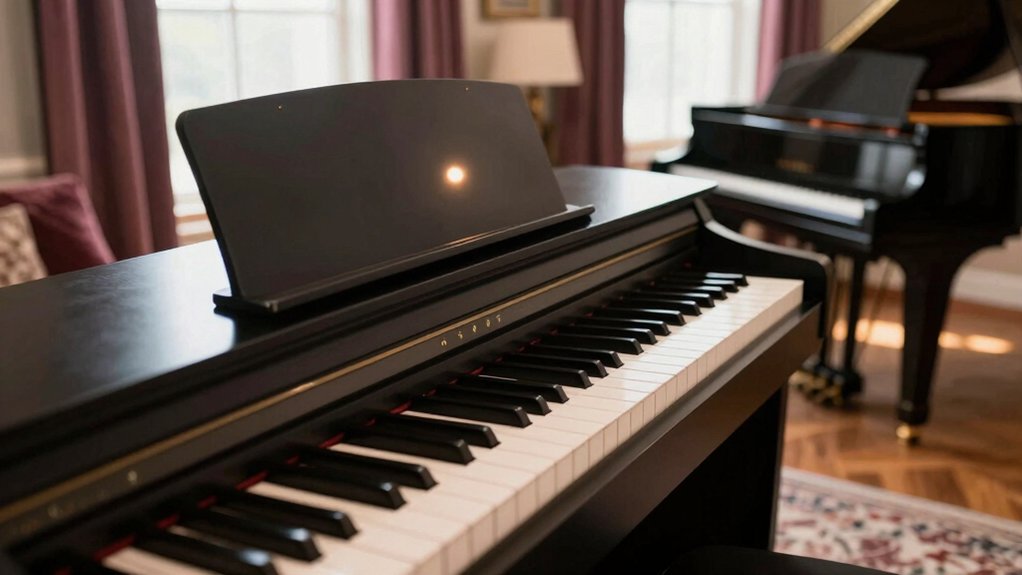
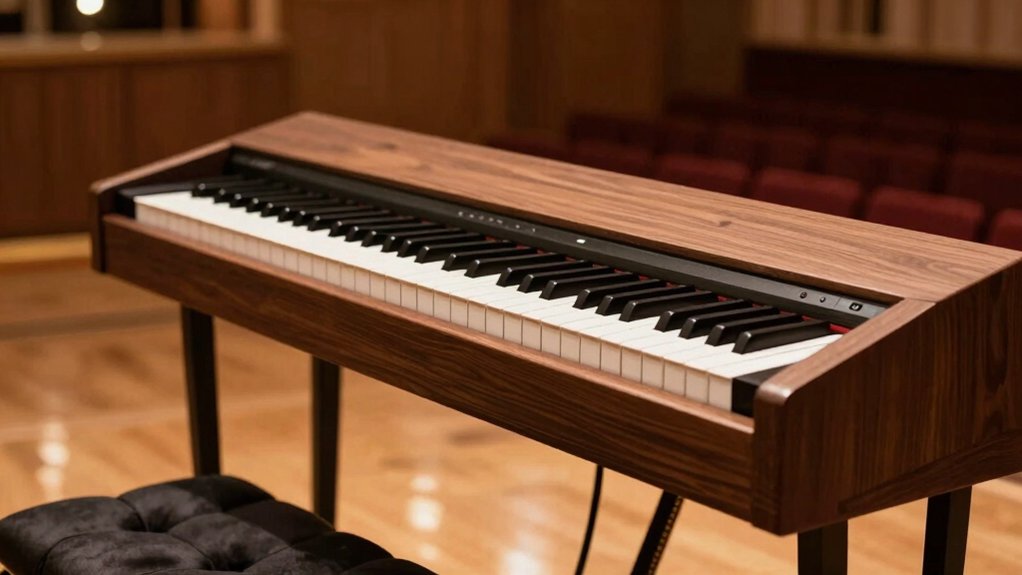
Like a key turning in a lock, your digital piano’s voice hinges on voice models, sample depth, and dynamic response. Want to make your digital piano sound like a concert grand? Discover expert EQ settings, reverb tricks, speaker upgrades, and tone adjustments to transform your instrument’s sound quality dramatically.
You’ll want precise velocity layers, careful EQ shaping, and room-aware monitoring to craft a realistic grand feel at home. Consider how impedance, speaker placement, and pedal response shape texture. The path to authentic tone isn’t only in presets; it’s in how you measure, tweak, and verify results across playback environments, and that journey starts with a clear target you’ll want to pursue further.
Assess Your Current Piano Tone: What to Listen For and How to Quantify It
To assess your current piano tone, start with a structured audition that isolates core tonal components: attack, decay, sustain, and harmonic content across the keyboard and dynamic range. You’ll compare per-key response, noting how velocity changes affect timbre and brightness.
Focus on fast versus slow attacks, decay envelope consistency, and the sustains’ loudness relative to articulation. Quantify spectral content with simple probes: vibrato-free notes for fundamental purity, then chromatic runs to reveal harmonic richness and inharmonic excess.
Record reference benchmarks at multiple dynamic levels, documenting perceived brightness, warmth, and articulation clarity. This process informs musical expression by revealing tone characterization gaps.
Use objective metrics—attack time, decay rate, sustain level, and harmonic balance—to guide calibration, voicing, and sample layering decisions for accurate, repeatable results.


Room Treatments That Maximize Resonance and Clarity
Effective room treatment for maximizing resonance and clarity hinges on controlled diffusion, targeted absorption, and strategic placement to preserve desired piano brightness while minimizing bass muddiness and high-frequency harshness.
You align panels and bass traps to shape acoustic reflections, reducing flutter and excess room amplification without dulling upper partials. Diffusive elements break up parallel surfaces, preserving spatial cues while maintaining harmonic integrity.
Place absorptive treatments at early reflection points, especially behind the piano and on side walls, to tame excessive reverberation time and prevent muddy low end.
Calibrate a balanced combination of diffusion and absorption to optimize clarity across registers.
Monitor results with a reference recording, ensuring acoustic reflections support intelligibility without introducing coloration or artificial room amplification that skews timbre.
Touch and Pedal Tweaks for Expressive Control
You’ll start by evaluating touch sensitivity tweaks to map dynamic response across playing velocity ranges, ensuring a natural concert grand-like timbre without introducing abrupt progressions.
Next, align pedal response settings to reproduce sustain and damping characteristics, balancing pedal half-pedal behavior with realistic pedaling curves.
This discussion centers on precise calibration of touch and pedal profiles to achieve expressive control while preserving instrument integrity.
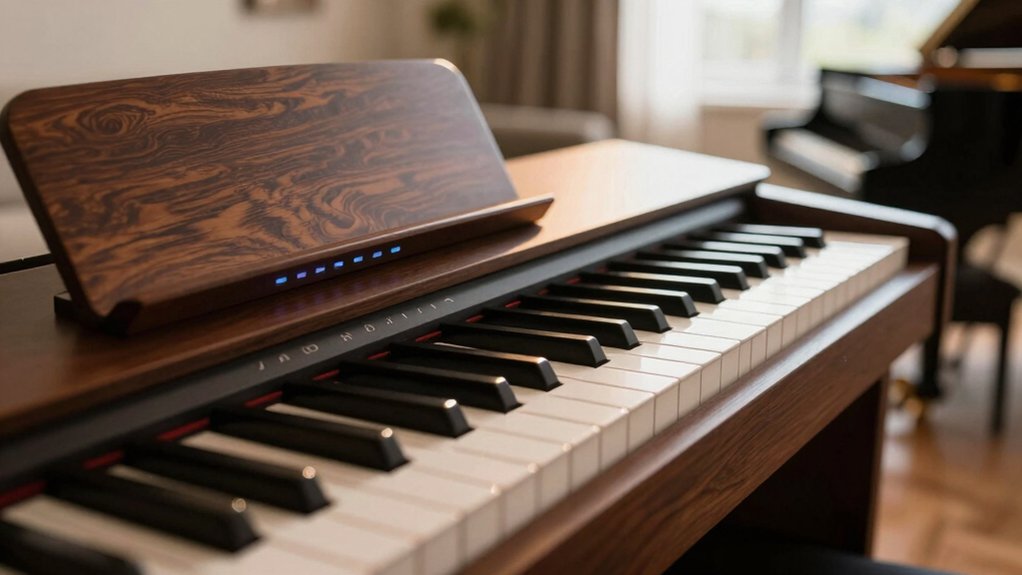
Touch Sensitivity Tweaks
When adjusting touch sensitivity, you must understand how velocity curves shape response across keyboard regions; fine-tuning these curves enables expressive control without changing fundamental timbre.
You configure per-layer curves to preserve consistent action feel while varying onset, slope, and saturation points. Implement a linear base for dynamic consistency, then apply exponential or piecewise adjustments where you need bite in the lower range or transparency in the upper.
Validate against repetitive scales to quantify perceived uniformity and response latency. Compare firmware presets and customize a hybrid curve to maintain keyboard ergonomics during fast passages.
Align touch behavior with digital piano aesthetics, ensuring the instrument remains controllable across genres. Document changes for repeatable setup, and avoid unnecessary pedal-induced artifacts while refining touch responsiveness.
Pedal Response Settings
Pedal response incorporates sustain, half-pedal behavior, and damper release timing to shape expressive articulation across genres. You evaluate pedal curves, linearity, and threshold points to optimize decay envelopes and note separation.
Prioritize consistent rise and fall times to prevent unintended brush-like blur between ensembles. Consider haptic feedback on the pedal mechanism; it informs you when you reach subsonic or prolonged sustain zones without visual cues.
For performance, map pedal states to nuanced control changes, not just on/off, enabling subtler half-pedaling and damped staccato effects. In MIDI mapping terms, assign continuous controller data to sustain and, where supported, damper-release messages; ensure your interface translates latency into predictable articulation.
Validate through controlled tests with reference dynamics, adjusting after-action timing to maintain tonal integrity.
Digital Piano Monitoring: Speakers vs. Headphones for Realism
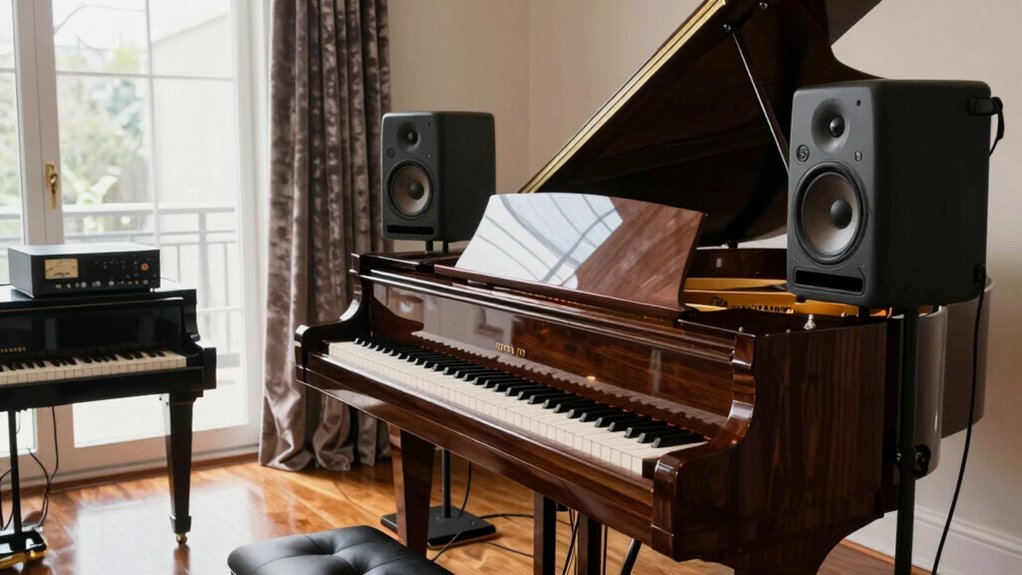
Digital piano monitoring hinges on selecting the most faithful reproduction path for realism: speakers versus headphones. You evaluate latency, frequency response, and imaging, aligning them with room acoustics and monitoring goals.
Speakers deliver natural room interaction, broad diffuse bass, and cross-room consistency, but require proper placement, isolation, and room treatment to minimize reflections that skew transient detail.
Headphones provide consistent near-field response, controlled isolation, and accurate stereo imaging for late-night practice, yet can flatten spatial cues and bass fullness without HRTF adjustments.
For realism, calibrate output levels, use reference tracks, and measure with a reliable SPL meter.
Consider instrument maintenance practices for DAC, amplification, and speaker drivers.
Balance with performance techniques, ensuring monitoring supports expressive articulation without fatigue.
Shape Your Sound: EQ and Compression Practices for Piano Dynamics
Building on the monitoring choices discussed previously, shaping piano dynamics hinges on targeted EQ and compression that preserve the instrument’s natural transients while controlling balance across the mix.
You apply a surgical high-pass to remove subsonic rumble, then finely sculpt with broad, musical shelving to reinforce harmonic balance without exciting brittle overtones. Use gentle subtractive EQ on resonant bands and avoid overboosting, which muddies attack feel.
For compression, deploy a fast-attacking, medium-release tempo to catch transient peaks while preserving natural decay; parallel compression can reinforce body without flattening transient nuance. Sidechain or program-dependent ratios help maintain articulation across chords and melodies, preserving dynamic range and intelligibility.
Regularly reference a tuned piano preset, ensuring consistent behavior across playback systems and preserving instrument realism.
Space and Ambience: Reverb and Spatial Effects That Evoke a Concert Hall
Reverb and spatial effects shape how a digital piano sits in a mix, translating room acoustics into perceived space without sacrificing transient clarity. You’ll evaluate how reverb settings alter decay, early reflections, and diffusion to preserve note startup while conveying hall-scale ambience.
Targeted choices depend on room acoustics, cabinet resonance, and mic position, ensuring natural decay tails without smeared transients. Precision in parameter selection yields a stable stereo image and consistent dynamics across registers.
Use moderate hall or concert presets with controlled pre-delay to place the piano within the room, not atop it. Calibration against reference recordings confirms balance between dry signal, early reflections, and tail damping.
- Reverb settings tuning for dynamic piano phrasing
- Matching room acoustics to keyboard voicing
- Pre-delay and diffusion as placement tools
- Tail duration and clarity balance
- Spatial consistency across velocity layers
Must-Have Plugins and Sample Libraries for Digital Pianos
For digital pianos, the right plugins and sample libraries define realism, responsiveness, and tonal versatility, so you’ll want to pair high-quality grand piano samples with targeted processing tools. You should prioritize multi-velocity, stereo-sampled cores and lawfully engineered round-robins to preserve dynamic nuance.
Essential plugins include high-quality EQ, transparent compression, and a flexible reverb with pre-delay options to reclaim natural space. Layering techniques enable depth by combining intimate mic perspectives with ambient captures, while preserving transient integrity.
For consistent results, use sample libraries that offer expressive pedal and key-release articulations. Custom sound design emerges when you map velocity to multiple modulation targets and program subtle dynamic curves.
Balance, latency awareness, and accurate metering are vital for musical fidelity.
Practical Recording and Livestream Setup for Home Concerts
You’ll implement a practical recording and livestream workflow that complements the high-fidelity piano setup discussed previously. You’ll map signal paths, test latency, and apply stage-accurate monitoring to preserve dynamic nuance. Focus on microphone placement, direct input integrity, and stable streaming codecs to minimize artifacts while respecting keyboard ergonomics and music theory principles in performance cues.
Employ a consistent gain structure, zero-latency monitoring, and objective benchmarks for audio fidelity across devices. Document presets for DAW templates, vocal/ambient balance, and room acoustic treatment to sustain a concert-like experience online.
- Signal chain diagrams detailing input, routing, and monitoring
- Latency targets and buffer management for live streaming
- Monitor mix with ergonomic considerations
- DAW templates aligned to keyboard ergonomics
- Performance cues rooted in music theory principles
Budget Upgrades With Real, Perceptible Impact
Budget upgrades can yield real, perceptible improvements without breaking the bank by targeting core signal integrity, monitoring accuracy, and streaming consistency. You’ll optimize tactile response and dynamic range through targeted action: adjust keyboard action presets, evaluate keybed latency, and test velocity curves against reference profiles from trusted digital piano brands.
Prioritize signal integrity at the interface: use low-latency cables, stable power, and clean USB/SMB transceivers to reduce jitter and angle-induced noise.
For monitoring accuracy, calibrate headphone and speaker chains with flat EQ profiles and verified SPL references.
Streaming consistency benefits from buffer tuning, codec settings, and reliable network paths.
Keyboard ergonomics remain essential for long sessions, influencing technique and projection. Consider brand-tested accessory ecosystems from leading digital piano brands for cohesive performance.
Quick Troubleshooting: Common Digital Piano Tone Problems and Fixes
You’ll start with a concise Symptom-to-Solution guide to map common tone issues to proven fixes.
Next, you’ll verify Speaker and Cabinet setup to guarantee correct damping, crossover behavior, and acoustic alignment.
Finally, you’ll review Firmware and Sound Modes to confirm version-specific characteristics and routing options are configured for ideal tonal accuracy.
Symptom-to-Solution Guide
Digital piano tone problems typically stem from signal integrity, voicing, or speaker/enclosure interactions; addressing them quickly requires a structured symptom-to-solution approach.
- Symptom: tonal imbalance; check signal path integrity, sample rate, and DAC clock
- Diagnosis: verify voicing parameters, key weighting, and processor firmware alignment
- Correction: tune routing; perform piano tuning and adjust velocity curves for consistent response
- Verification: measure spectral balance with reference pink noise and targeted tone sweeps
- Prevention: document changes, monitor enclosure resonance, and maintain impedance compatibility with amplifiers
You’ll refine tonal consistency by aligning piano tuning and key weighting in the context of the active voice processing chain, ensuring stable dynamic response without introducing latency or phase anomalies.
Speaker And Cabinet Setup
Speaker and cabinet setup directly influences tonal balance, headroom, and transient fidelity by defining load impedance, cabinet resonance, and speaker coupling to the enclosure. You should evaluate how speaker placement affects directional response, bass integration, and early reflections, then adjust height, toe-in, and distance from walls to minimize boundary gain distortions.
Use calibrated measurement tools or reference tracks to verify consistent SPL across the keyboard range. Cabinet materials contribute to damping, rigidity, and thermal stability, altering transient decay and color. Select non-resonant materials with uniform internal damping and plan for minimal panel flex.
Ensure enclosure stiffness and porting are compatible with the digital piano’s power rating to prevent compression. Document changes, preserve phase alignment, and confirm repeatable results for reliable tonal consistency.
Firmware And Sound Modes
Firmware and sound modes are the primary battleground for addressing tonal irregularities, because mode selection and real-time processing shape harmonic content, dynamic response, and spatial cues. You’ll diagnose issues by validating the current sound mode, confirming firmware updates, and testing alternate presets.
Precision tuning hinges on firmware updates that fix aliasing, noise, or envelope quirks, and on sound mode customization to tailor articulation, sustain, and stereo imaging. Approach each preset as a baseline, then compare with diagnostic sweeps to isolate anomalies.
Document changes and re-test performance in typical playing styles to ensure consistency across velocity layers and pedal interactions.
- Validate firmware updates and compatibility with your instrument model
- Assess default vs. user-defined presets for tonal drift
- Test dynamic response across velocity ranges
- Examine stereo width and early reflections in different modes
- Implement sound mode customization for targeted fixes
Conclusion
If you’ve ever listened to your digital piano and wished you could make your digital piano sound like a concert grand with that rich, resonant tone that fills Carnegie Hall, you’re not alone – this is the holy grail that every digital piano owner dreams of achieving. The truth is, whilst you’ll never perfectly replicate a Steinway Model D in your living room, there are proven techniques to make your digital piano sound like a concert grand that will dramatically improve your instrument’s tonal quality, depth, and overall presence.
You’ve tuned your piano’s voice, aligned room acoustics, and refined dynamics with precise EQ and gentle compression. With thoughtful monitoring and calibrated velocity curves, you’re nabbing the nuance without overstatement. Consider this a soft wink to your system: the grand is within reach, not by louder tissues but by cleaner paths. If something sounds off, you’ve left room for subtle corrections. In practice, the illusion remains intact, while the engineering quietly handles the heavy lifting.