
The one setting you absolutely can’t ignore could be your output level, because it shapes every note you hear and every nuance you miss. If your ears drift from the truth, you’ll misjudge dynamics, feel forced to push louder, or miss subtle tremolo and decay. You’re about to discover a practical approach that keeps your tone honest and your practice efficient—and it starts with one simple calibration you’ve likely skipped. Keep going to lock in your perfect setup.
Why Your Output Level Impacts Practice and Performance
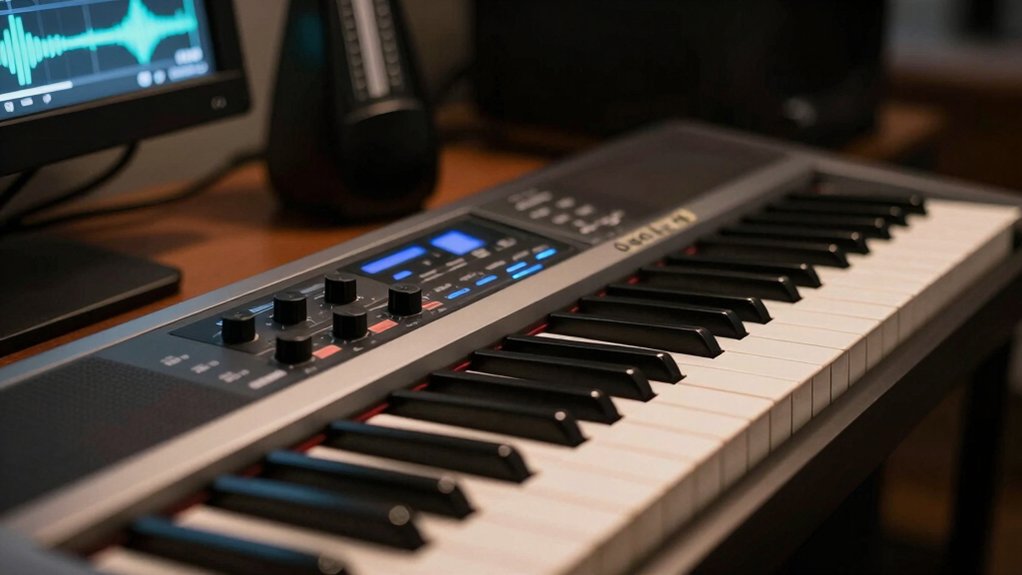
Your output level directly shapes how you hear and respond during practice. When you set it properly, you preserve dynamic range and signal clarity, so every nuance comes through.
Too high, and you saturate the signal, masking articulation and bass resonance; too low, and you lose transients, making your practice feel dull and disconnected. You’ll notice quicker fatigue and less trust in what you’re playing, because feedback through the keyboard becomes unreliable.
Find a balance where dynamics read accurately from soft passages to fortes, with clean tone across keyboards and tracks. This clarity helps you adjust touch, timing, and articulation in real time.
Consistency here reduces guesswork, accelerates progress, and keeps your practice focused on musical decisions rather than technical adjustments.
Headphone vs Amp Output: What to Monitor and Why
When you practice, where you hear the sound matters as much as what you play. Headphone output and amp output serve different purposes, so you should monitor both with intent.
On headphones, focus on latency and how fast you hear notes after you press a key; this “monitoring latency” matters for timing and feel. If you’re tracking with software, delay can derail accuracy, even if your touch is precise.
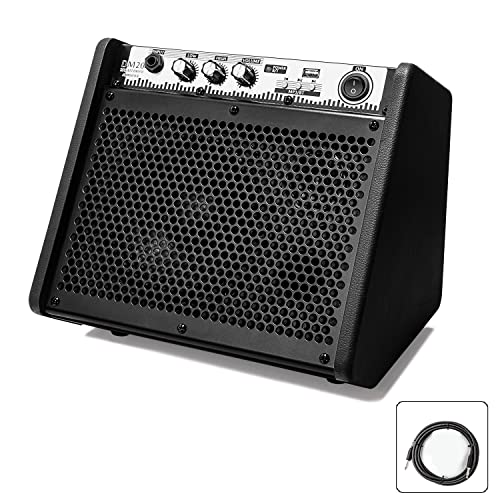
On the amp output, you’re evaluating tone, headroom, and dynamic response that you’ll hear through speakers or a stage setup.
Also consider headphone impedance; lower impedance designs are easier to drive, but may color sound differently than higher-impedance cans.
Choose the route that preserves your timing, guarantees comfortable listening, and matches your performance context.
How to Measure Your Monitoring Signals
How do you quantify what you actually hear from your monitoring setup? You measure with purpose, not guesswork.
Begin by defining your reference: set a stable test tone, then record your output chain. Use a known measurement tool or software to capture levels and frequency response, ensuring you’re hearing what’s sent, not what the room hides.
Focus on signal measurement across your main monitoring path: keyboard to interface, to monitors, then back to your ears. Do an audio calibration pass at your typical playing level and note deviation from the reference.
Note peak levels, noise floor, and any tonal tilt. Apply adjustments gradually, validating each change with fresh measurements. Keep notes, aiming for consistent, repeatable results.


Balancing Headphones, Amps, and Stage Monitors
Balancing headphones, amps, and stage monitors comes down to matching output levels, tonal balance, and latency so your listening jealously tracks your playing. You’ll want a single reference point for volume, then adjust each path to that standard.
Start with headphones: set their sensitivity to a comfortable, accurate midrange, then calibrate an overall loudness target.
Next, tune the amp and stage monitors to that same level, avoiding extremes that color tone or introduce delay. Maintain consistent monitoring across devices to prevent shifting cues during songs.
Check tonal balance by comparing a neutral test track on all outputs, tweaking highs, mids, and lows as needed.
Monitor for latency and ensure it’s imperceptible in your workflow, preserving monitoring consistency and precise volume calibration.
Five Quick Checks Before You Play
Ever wonder what to check first before you play? Start with the basics: power, volume, and the instrument’s basic setup. Confirm the keyboard is on a stable surface and you’re not fighting cable clutter or loose connections.
Next, verify your main output level isn’t maxed; set a comfortable listening volume and avoid clipping. Check your input sources, ensuring you’re not accidentally monitoring an unwanted channel.
Listen for sound dynamics as you play a few scales, adjusting touch sensitivity and velocity if needed. Finally, confirm signal clarity by testing a quick, clean note sure, without effects or excessive processing.
These five checks keep your tone accurate, responsive, and ready for precise, expressive performance.
How Reverb, EQ, and Effects Change What You Hear
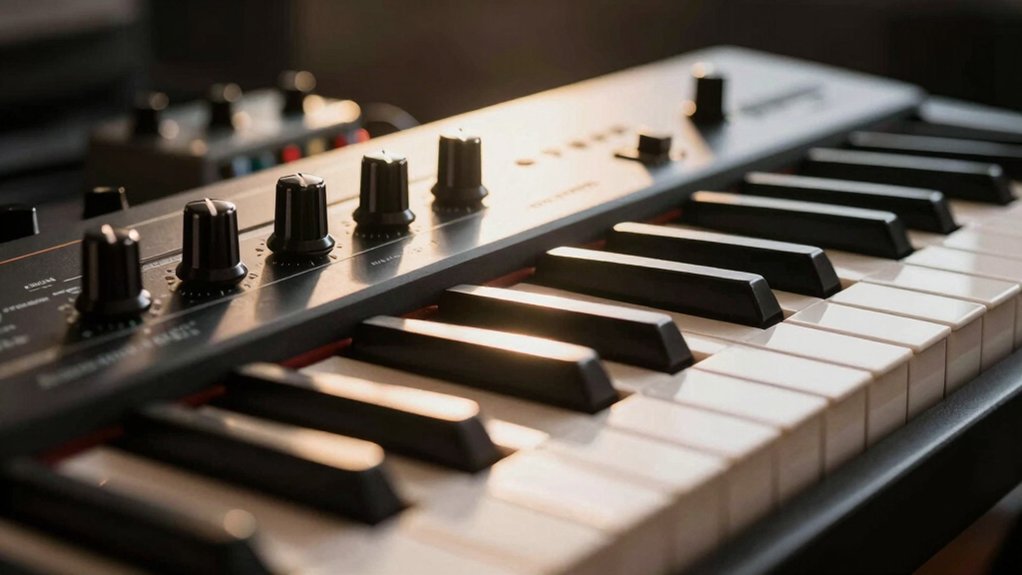
Reverb, EQ, and effects shape your sound by altering space, tone, and character in real time. You hear reflected space, not just raw notes, when you adjust reverb settings. A small room vibe can add depth, while a hall or plate setting pushes sustain and ambiance beyond the dry signal.
EQ adjustments carve clarity, removing mud or boosting presence on your lead lines and accompaniment. Too much high-end shimmer can fatigue listeners; too little midrange can dull expression.
Effects like subtle delay or chorus add motion without masking articulation. Use these tools sparingly: dial in the effect amount, then tighten the core tone with precise EQ. Balance preserves intelligibility while enriching character, ensuring your performance remains focused and musical.
Tailoring Output Settings for Different Venues
To tailor your keyboard output for different venues, start by matching your overall level and tonal balance to the space. Then adjust your master output and each zone’s EQ so the loudest part still sounds clean, not harsh.
In venues with lively acoustics, bring down brightness and widen the stereo subtly to prevent glare. In drier rooms, you can add warmth without boosting hiss.
Consider microphone placement if you’re amplifying through a PA: position microphones where your keyboard’s core tone isn’t masked by cymbals or room buzz. Use direct output for quiet stages and a stage monitor feed when you need onstage feedback control.
Fine‑tune compression lightly to preserve dynamic detail without muddying the mix.
Common Ear Calibration Mistakes and How to Avoid Them
You’ll spot common ear calibration mistakes that skew pitch, from mistuned references to listening biases. Watch for simple pitch errors and calibration pitfalls that creep in during setup and rehearsal.
We’ll unpack how to spot them and outline concrete fixes to keep your keyboard in tune with your ears.
Common Pitch Errors
Pitch accuracy is essential for a natural and balanced keyboard sound; many players drift from concert pitch when tuning by ear, leading to a ringing mismatch across octaves.
In practice, you’ll notice intonation issues when intervals no longer align, especially in chords and scales. The most common tuning mistakes involve assigning incorrect reference notes, over- or under-adjusting single keys, and relying on faulty octave relationships.
Avoid chasing a perfect single tone by ear; precision matters across the keyboard, not just at a representative note. Use a reliable reference, verify octaves against a standard, and recheck after any adjustment.
When you correct intonation issues and tuning mistakes consistently, the overall expressiveness and tonal balance improve, delivering a cleaner, more stable performance.
Ear Calibration Pitfalls
Ear calibration is where many players derail after addressing pitch accuracy, so it’s worth catching early. You’ll miss the mark if you chase numbers without listening for overall balance.
Common pitfalls include relying on a single reference tone, neglecting octave tuning, and ignoring keyboard-to-speaker latency. Use a stable, repeatable test pattern across octaves to verify sound consistency, not just at middle C.
Calibrate with real music material, not synthetic tones, and check both the keyboard’s internal meters and your monitoring chain. Small misalignments multiply in ensembles, making phrasing awkward.
Document your settings, reset when you change instruments, and re-check after any service. Prioritize ear calibration as part of your daily setup to maintain sound consistency and confident tuning.
Tools and Techniques to Validate Your Levels
You’ll start by confirming Level Accuracy with simple checks against known benchmarks, so you know where you stand.
Track Progress Metrics over time to see if your tweaks move you closer to target sounds and consistent dynamics.
Use clear, repeatable methods so your validation stays reliable across sessions and equipment.
Validate Level Accuracy
To validate level accuracy, use a systematic approach that combines measurement, reference checks, and practical listening tests. Begin by setting a stable baseline using a reliable SPL meter and calibrated headphones.
Measure peak and average levels at typical playing dynamics, noting any drift across ranges. Cross-check against a reference track with known loudness standards and correlate numbers with your ear’s impression.
Perform a quick A/B against a trusted monitor or external speaker to confirm consistency. Calibrate volume control steps so midrange feels like unity in both headphones and speakers.
Address discrepancies through adjustments in the instrument’s output or external gain stage, then re-test. Remember to document results, especially any changes in musical tuning expectations and volume calibration, to maintain reproducible, repeatable accuracy.
Track Progress Metrics
Track Progress Metrics: use concrete measurements and documented checks to confirm your level targets stay on course. You’ll track tempo stability, dynamic ranges, and accuracy against benchmarks you’ve set from your Validate Level Accuracy steps.
Use a simple diary or a digital log to record deviations, and flag any drift beyond predefined thresholds. Prioritize instrument calibration at regular intervals so readings reflect true performance, not quirks of your gear.
Maintain signal consistency by testing input chains, from keys to audio interface, and note any noise or latency as corrective indicators. Compare weekly results to baseline, adjusting practice focus accordingly.
This disciplined routine makes progress tangible, preventing vague impressions from masking real advancement or stall points.
A Simple Routine to Lock in Your Perfect Setup
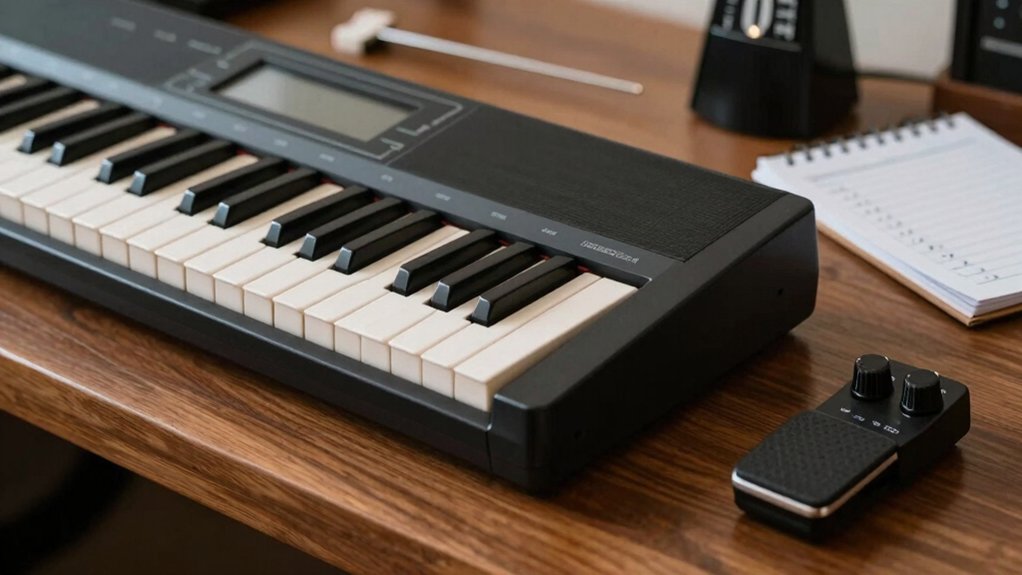
Setting up a reliable routine is the key to locking in your perfect keyboard setup, so you’ll know exactly how your instrument should feel and respond each time you play. You’ll adopt a simple, repeatable sequence that covers stance, touch, and timing.
Start with keyboard ergonomics: set seat height, arm angles, and wrist alignment to minimize strain. Then verify touch consistency: play scales, chords, and a short melody, noting dynamic responses. Use visual cues to confirm alignment—line up the keys with your fingertips, watch your shoulders relax, and ensure your posture remains upright.
End with a quick play-along to confirm feel, response, and tempo; record notes, adjust as needed, and recheck daily. A disciplined routine prevents drift and preserves your setup.
Conclusion
You’ve got to hear your sound the way you’ll perform it, not how you wish it to feel. Think of your ears as your own built-in meters—calibrate them, then trust what you hear. When output levels are dialed in, your practice becomes a precision instrument, not a guessing game. A well-tuned setup is a steady lighthouse through every venue, guiding your touch, tone, and timing toward one clear goal: consistency you can depend on, night after night.