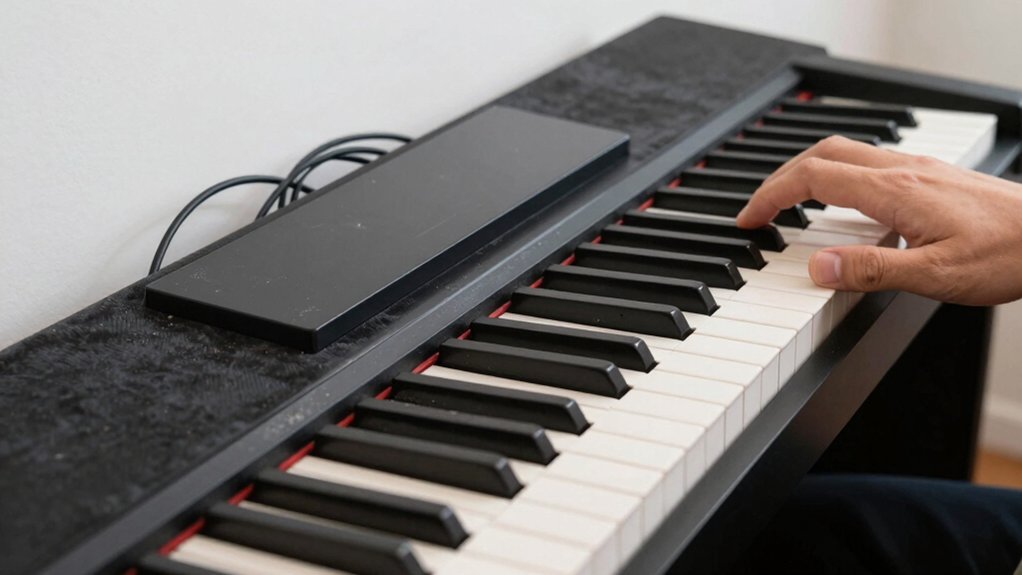
If you’re wondering why your digital piano sounds terrible—tinny, distorted, lifeless, or just plain wrong compared to what you heard in the store—you’re experiencing one of several fixable issues ranging from incorrect settings and poor speaker placement to damaged components or simply unrealistic expectations for budget instruments. The frustrating gap between the rich, resonant piano tone you imagined and the disappointing audio actually coming from your speakers often results from changeable factors rather than inherent instrument limitations, though some budget digital pianos genuinely lack the sound quality necessary for satisfying practice.
This troubleshooting guide identifies the specific causes behind terrible digital piano sound, provides actionable solutions you can implement immediately, and reveals when poor audio quality reflects fixable problems ( such as keys sticking ) versus fundamental instrument inadequacy that demands replacement.
Your digital piano sounds muddy, your room colors the tone, and your chain colors the signal. You set up the piano, you choose the speakers, you shape the EQ, you test the response, you chase the ideal balance. If the notes cling, if bass bounces, if the reverb washes the attack, you’ll find a path that explains why—and five fast fixes to try as you go. Keep listening closely and follow the steps to uncover where the problem starts.
What Makes Your Digital Piano Sound Muddy (And How to Fix It)
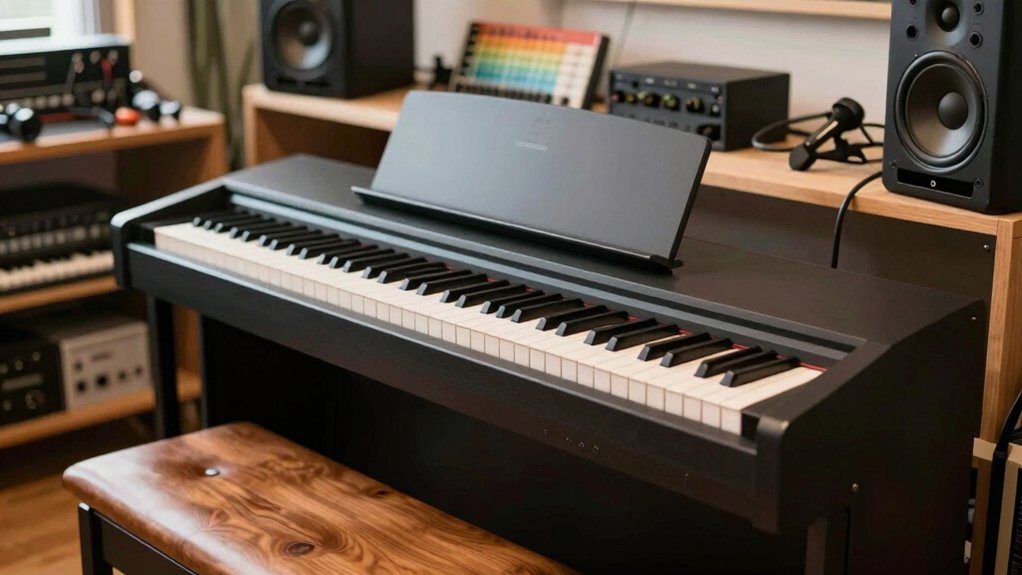
Muddy digital piano sound usually stems from a combination of low-fidelity samples, excessive layering, and suboptimal signal processing. You’ll identify the core sources by isolating stages in the signal chain.
Digital resonance arises when sustained tones overwhelm the harmonic content, often due to overly long envelopes, bright EQ boosts, or aggressive reverb. To mitigate this, target the sample core and reduce unnecessary layers; select higher-quality samples with proper velocity response.
Evaluate keyboard action: if you perceive inconsistent velocity or late note-on behavior, adjust sensitivity curves or switch to a fixed dynamic layer that preserves articulation without piling on mud.
Apply precise EQ cutoffs around nonessential low mids, and reserve bass for registered, intentional textures. Recheck dynamics after any edit to confirm improved clarity without sacrificing tonal depth.
Room Setup That Boosts Piano Tone (Placement, Reflections, and Bass)
To optimize piano tone in a room, start with placement that minimizes boundary effects and balances reflections; position the instrument away from walls and corners, with the listener seated at a piano-like listening axis for accurate projection.
You should align the keyboard with the room’s primary axis and avoid parallel surfaces that create flutter echoes. Room acoustics depend on controlled reflections, so place gently absorptive panels at first-reflection points and use bass traps in corners to manage low-frequency buildup.
Speaker placement and the piano’s own sound interact, so maintain a stable distance between player, listener, and any monitors. Use calibrated furniture and rug weighting to shape diffusion, ensuring a coherent, evenly distributed tonal balance across seating positions.
Auditing Your Speaker, Amp, and Mix Chain for True Piano Clarity
Auditing your speaker, amp, and mix chain for true piano clarity starts with a clear signal path: verify that every component preserves transient detail and stays within its linear region. You’ll assess chain integrity, guard against clipping, and confirm phase consistency across devices.
Focus on match between the driver system and your amp, ensuring the perceived balance matches the piano’s touch.
- Confirm speaker calibration aligns with your monitoring room and doors off reflections.
- Validate amplifier matching to your speaker’s impedance and headroom, avoiding compression artifacts.
- Inspect the mix chain for consistent level calibration, crossover behavior, and cable integrity.
This disciplined approach reduces coloration, improving transient fidelity, separation, and overall clarity for expressive piano performance.
Five Practical Fixes to Dial in Piano Tone Today
If you want immediate piano tone improvements, start with five practical fixes you can apply right now: adjust your key response, tame your room reflections, tighten your signal chain, calibrate your monitors, and sculpt with targeted EQ and dynamics.
Begin with Piano voicing adjustments to balance string harmonic content and sustain envelopes, ensuring consistent timbre across the keyboard.
Address Key weighting to align touch sensitivity with your playing style, preventing uneven dynamics between bass and treble sections.
In the signal path, isolate noise floors, minimize latency, and normalize transient response.
Apply precise EQ cuts and boosts only where harmonics clash, preserving natural decay.
Finally, verify consistency by re-voicing across octaves and rechecking monitoring accuracy for faithful transliteration of your touch.
Test Like a Pro: A Quick Checklist and Next Steps
Now that you’ve got the basics dialed in, you’ll run a concise test protocol to verify accuracy and guide next steps. You’ll apply a structured approach, focusing on objective metrics and repeatable results to avoid guesswork.
Use this quick checklist to ensure soundness and align with music theory concepts and instrument maintenance best practices.
1) Verify pitch and timbre consistency across keys, documenting any detours from expected intervals or overtones.
2) Measure dynamic response and pedal behavior, noting latency, noise, and sustain characteristics for calibration or sensor checks.
3) Cross-check reference samples against a calibrated tuner or software, then chart deviations to inform maintenance decisions and firmware updates.
Next steps: iterate tests after adjustments, archive results, and schedule service if anomalies persist.
Grab An Extended Warranty For Peace Of Mind
Conclusion
Are you ready to hear the truth beneath the buzz? By tuning key sensitivity, treating the room, and refining your monitor chain, you’ll pull piano clarity from muddy tones. Verify your samples aren’t over-layered, check latency and velocity response, and trim dull highs with precise EQ. Recheck placement and bass coupling for even energy. Then test, tweak, and test again. Can you resist the clearer, more expressive piano you’ve liberated with these exacting, repeatable steps?