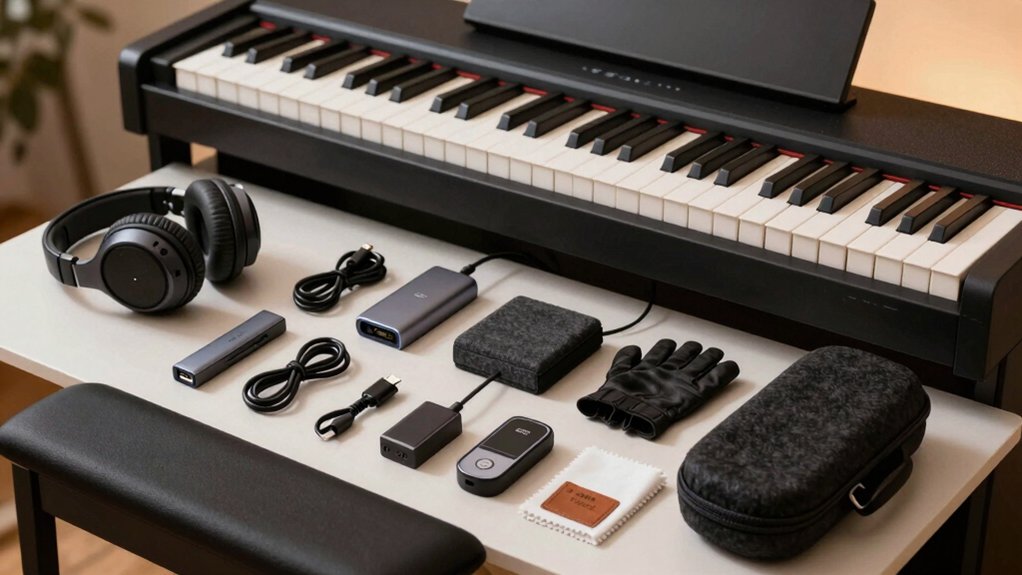
Essential accessories for your first digital piano transform practice and performance. Discover must-have items like benches, stands, pedals, and headphones to maximize comfort, sound, and longevity. Did you know that a good set of accessories can double your practice time by reducing fatigue and setup friction?
When you’re outfitting your first digital piano, you’ll want headphones, stands, pedals, and a bench that feel reliable and are easy to adjust. There’s more to evaluate—cables, dust covers, and a beginner recording kit—so you’ll want a clear plan before you buy. Let’s map out what matters and how to keep everything compatible.
What to Know Before Buying a Digital Piano
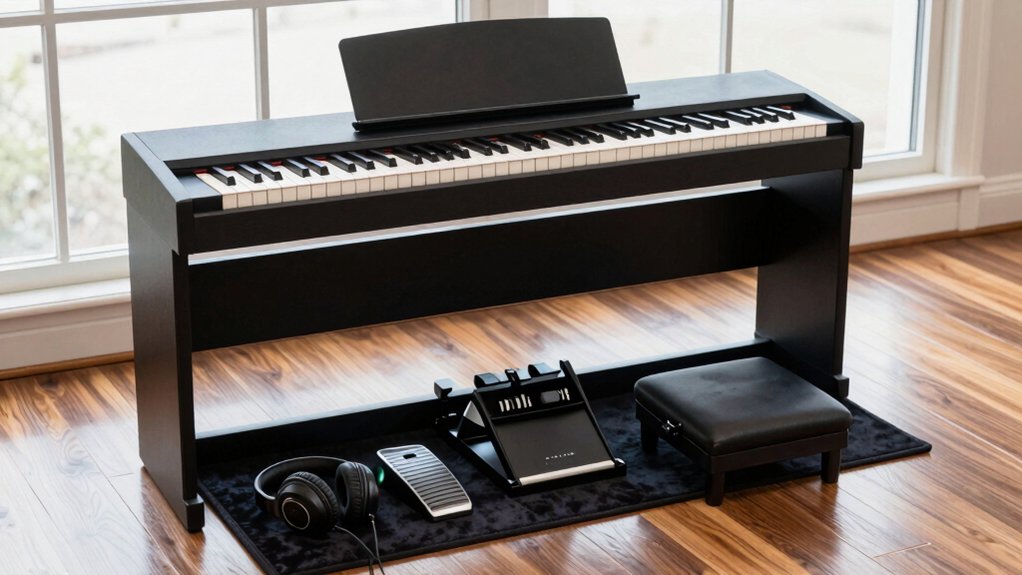
When choosing a digital piano, start by identifying how you’ll use it most—practice, lessons, or performance—as this guides key features to prioritize. You’ll assess sound realism, touch response, and polyphony, ensuring compatibility with your learning path.
Consider digital piano styles you’re drawn to, since input options vary by model and can influence future expansion. Check keyboard action (graded hammer vs. semi-weighted) to match practice objectives and your current technique.
Latency, audio outputs, and headphone comfort matter for silent practice and neat sessions with instructors. Look for reliable accessory maintenance, including boot reliability, power supply quality, and built-in metronome accuracy.
Budget for stand, sustain pedal, and a basic service plan to protect the investment over time. This approach keeps your setup focused and future-ready.
How to Evaluate Digital Pianos: Key Criteria, Budget, and Setup
To evaluate a digital piano effectively, start with a clear view of how you’ll use it—practice, lessons, or performance—and map that to key criteria, budget, and setup.
You’ll weigh keyboard action, touch sensitivity, and polyphony against your musical goals and room constraints. Prioritize features like MIDI connectivity, internal metronome, and speaker quality, then align them with your budget ceiling.
Plan placement for wiring, pedal setup, and surface stability, ensuring you can reach controls without strain.
Consider long‑term maintenance: routine digital piano maintenance habits reduce failures and preserve touch feel.
Check accessory compatibility with stands, pedals, and cases before purchase.
Finally, verify service options and warranty coverage to minimize downtime as you upgrade your studio workflow.
Headphones for Quiet Practice
When you choose headphones, prioritize Quiet Practice Essentials like isolation and volume control to avoid disturbing others.
Comfort and Fit matter for long sessions, so look for lightweight designs with breathable padding and secure clamps.
Latency and Sound Quality affect timing and realism, so opt for low-latency, high-fidelity audio to keep your practicing precise.


Quiet Practice Essentials
For quiet practice, a pair of headphones can be a game changer, letting you hear every nuance without disturbing others. In this context, focus on audio clarity, low latency, and reliable isolation to support silent practice sessions. Choose models that reproduce piano timbre with minimal bleed and strong dynamic range, so subtle touch changes remain detectable.
Prioritize comfortable padding and secure fit to sustain longer practice blocks without fatigue, addressing headphone comfort through design and materials. Compatibility with your digital piano’s audio output and any local processing features matters for clean signal delivery. Look for impedance matching and sensitivity that suit your amp or interface.
Finally, verify mute and volume controls are easily accessible during practice.
- Lightweight, breathable pads
- Low-latency wired or USB-C connection
- Good isolation without voice bleed
- Durable, ergonomic headband
Comfort And Fit
Good comfort and a secure fit are essential for long quiet-practice sessions, since headphones that move or pinch can distract you from the music and fatigue your ears. In practice, choose over-ear models with clamping force that’s adjustable and memory-foam cushions to reduce pressure points.
Look for a lightweight design to minimize neck strain during extended sessions. Evaluate the cable routing and plug type to prevent tugging on the instrument or chair, which helps maintain steady posture.
For sustained focus, pair headphones with ergonomic seating and wrist support; a stable setup reduces micro-movements that break concentration. Consider isolation capabilities to minimize ambient noise without boosting volume, and ensure compatibility with your digital piano’s output impedance for clean, distortion-free headphones.
Latency And Sound Quality
Latency and sound quality directly affect how quiet practice feels. You want headphones that minimize latency while preserving accurate tone, so you can play confidently without feedback delay. Choose models with low-latency drivers and wired connections to avoid Bluetooth hiccups that worsen latency issues.
Opt for headphones and plugins that support sound quality optimization, ensuring your piano’s dampered dynamics translate clearly. A closed-back design helps isolate ambient noise, letting you focus on articulation and touch accuracy.
Test impedance compatibility with your digital piano to prevent dull outputs. Prioritize balanced frequency response and robust transient handling for realistic pianissimo and fortissimo.
- Low-latency wired headphones
- Impedance matching with your piano
- Closed-back, noise isolation
- Safe, distortion-free frequency response
Stands and Pedals: Stability, Feel, and Control
Stands and pedals directly influence how securely you play and how precisely you control your piano, so choose hardware that supports your style and space. A sturdy stand eliminates wobble during dynamic passages and keeps the keyboard at a consistent height, improving keyboard ergonomics.
Pedals should offer reliable resistance and predictable travel, with pedal responsiveness that matches your touch and playing style. Consider a three-pedal unit with a half-pedaling option if you rely on subtle sustain changes, or a non-latching design for simpler setups.
Material quality matters: metal constructions resist flex and metal-to-metal contact should feel smooth. Mounting compatibility with your digital piano matters too; ensure screws align and the setup remains stable with vigorous playing.
Prioritize rigidity, defined action, and room-appropriate footprint to maintain precision.
Choosing a Keyboard Bench: Comfort and Height
Choosing a keyboard bench requires balancing comfort, height adjustability, and stability to support long practice sessions. Your bench should promote proper posture and allow quick setup for varied pieces.
Look for an ergonomic design that supports natural wrist alignment and reduces fatigue during extended playing. Adjustable height is essential so you can align the bench with your piano’s keybed and your chair height.
Favor sturdy materials, secure locking mechanisms, and a non-slip surface to prevent shifting. Compatibility with your keyboard stand and pedal setup matters too, ensuring clean alignment and reach.
Invest in a bench that you can easily adjust without tools to save time between pieces.
- Ergonomic design that supports posture and wrist alignment
- Adjustable height with reliable locking
- Stable, non-slip base and reinforced frame
- Tool-free height adjustments for quick setup
Desk vs Keyboard Stand: Pick the Right Work Surface
When you’re equipping your first digital piano, the work surface you choose dramatically affects workflow and comfort. Desk configurations place the keyboard at a fixed height with broad surface area, enabling easy accessory placement and cable routing.
Keyboard stands, by contrast, offer adjustable height and tilt, improving ergonomics for long practice sessions and seating positions. If you frequently use sheet music or learning apps, a desk with a dedicated music stand or a separate sheet holder keeps lines visible without crowding the keyboard.
For portability, a collapsible stand minimizes setup time between rooms. Consider stability under key thumps and the weight of accessories. Balance accessibility with posture, ensuring cables, pedals, and stands don’t interfere with play.


Protective Covers and Dust Management
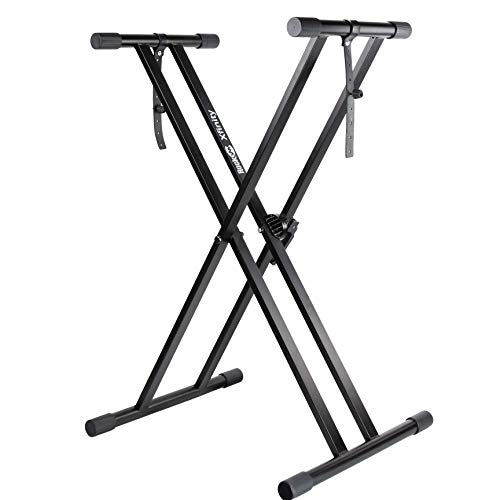
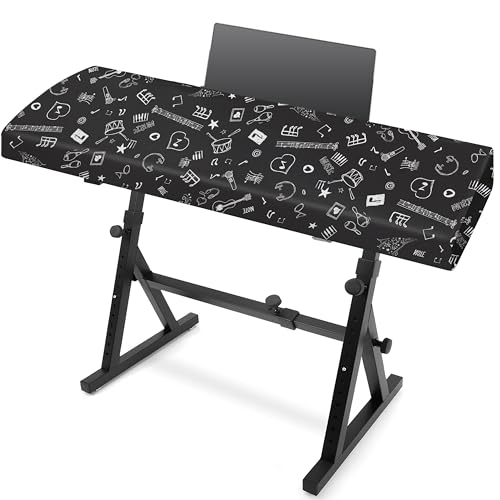
Protective covers shield your digital piano from dust, spills, and incidental wear, extending its life and preserving resale value. You’ll protect internal components and keys, reducing cleaning frequency and safeguarding finish. Choose snug, breathable materials to prevent moisture buildup and overheating.
Regular dust management lowers allergen exposure and maintains key response.
- Keyboard dust covers with secure fastenings
- Anti-static, lint-free polishing cloths
- Microfiber dust sleeves for lid and keys
- Care guidelines to minimize residue and scratches
Using these digital piano accessories as part of your routine keeps essential gear in top condition. Store covers when not in use, and clean surfaces before use.
This approach supports consistency in playability and longevity, without introducing interference with your practice flow or setup. Keep protection simple, effective, and unobtrusive.

USB, MIDI, and Audio Connections: Linking Your Gear
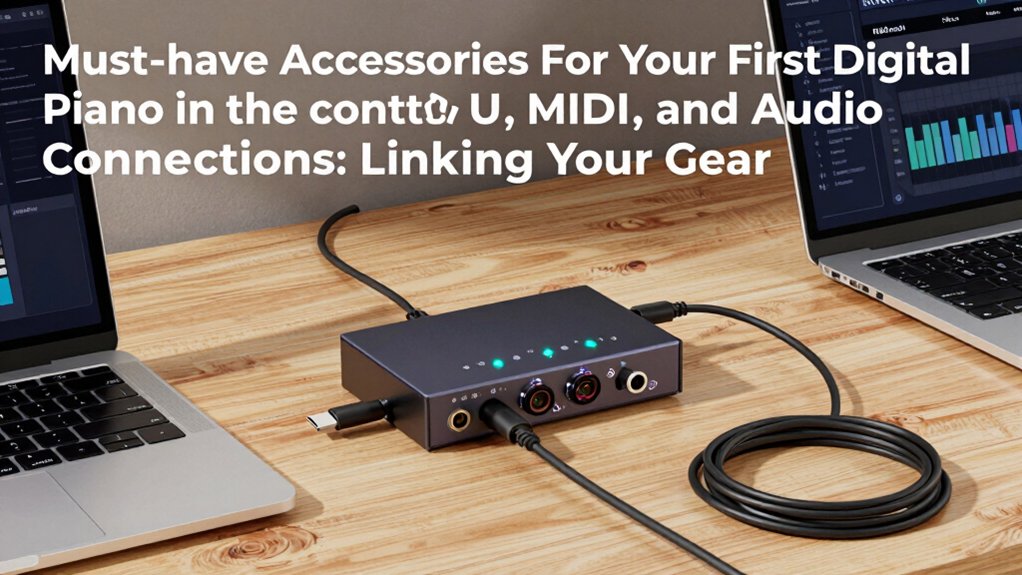
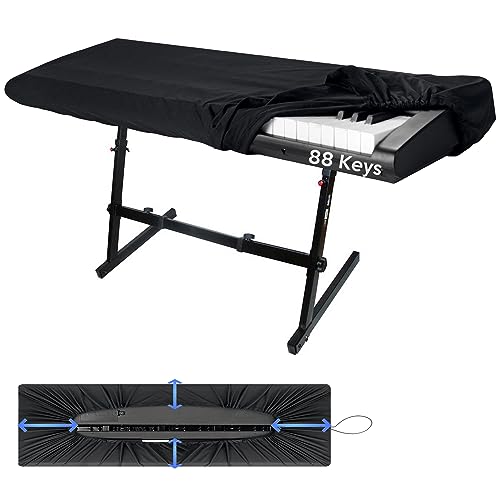
As you move from protecting your instrument to expanding its capabilities, USB, MIDI, and audio connections let you link your digital piano with keyboards, computers, and recording gear. USB provides audio and MIDI transfer to DAWs and software instruments.
MIDI ports support external controllers and stage keyboards with low-latency data lanes. Audio connections—1/4 inch and mini-jack options—enable direct line out or headphone monitoring for practice and rehearsal.
Bluetooth connectivity adds wireless control and tablet streaming without extra cabling.
Sustain pedal options vary by model: half-damper, continuous, and multifunction pedals can be mapped for damper, soft, and pedal up functions.
Choose diagnostics-friendly cables and adapters to minimize latency and ensure stable performance during play and recording sessions.
A Beginner Recording Kit for Home Practice
A beginner recording kit for home practice focuses on essential, reliable gear that’s easy to set up and use. You’ll want a compact interface, a reputable microphone, a basic stand, and headphones for silent monitoring. This setup keeps signal paths clean and troubleshooting minimal, so you can focus on performance.
Choose Recording software that suits your workflow and supports straightforward recording and editing. Prioritize intuitive controls and stable drivers to reduce setup time between sessions.
Effective Microphone placement matters: position the mic to capture body sound without distortion, using a pop filter to reduce plosives. Keep the kit portable enough for quick dorm or apartment setups, and scalable as you grow.
- Audio interface with at least two inputs
- Condenser microphone with stand and pop filter
- Closed-back headphones
- USB cable and basic acoustic treatment starter needs
Power, Cables, and Safety for Your Setup
Power, cables, and safety are the backbone of a reliable setup, so plan each run to minimize noise and risk. You’ll want properly rated power cables, matched to your instrument’s amperage, to prevent voltage drop and interference.
Route cords away from pedals, fans, and doors to avoid tension, wear, and accidental unplugging. Use a grounded outlet and surge protection to guard components against spikes.
Keep power strips centralized and labeled, with separate circuits for audio and performance gear. Inspect cords for cracks, insulation damage, or loose connectors before every session; replace frayed items immediately.
Safety precautions include avoiding daisy-chaining power strips, using cable organizers, and keeping liquids away from electronics. Maintain a tidy setup to reduce trip hazards and ensure reliable operation.
Budget Guide: Getting Value, Quality, and Longevity for Your 11-Piece Kit
When you’re building an 11-piece kit, focus on value-driven purchase choices that balance upfront cost with practical use and support.
Plan a longevity-focused investment strategy by selecting components with solid build quality, proven durability, and reputable warranties. This approach keeps your setup reliable, scalable, and ready for future upgrades without wasteful spending.
Value-Driven Purchase Choices
To get the most value from your 11-piece kit, prioritize build quality, component compatibility, and long-term reliability over the lowest upfront price. You’ll benefit from durable hardware, accurate input/output specs, and stable firmware that supports steady practice, not quick fixes.
Focus on practical value: reliable pedals, responsive keys, and compatible cables that handle daily use. When you shop, consider music theory and beginner techniques as part of a cohesive system, ensuring accessories support effective, progressive learning rather than isolated features.
This approach guards resale value and reduces replacement costs over time.
- Build quality and durability across critical components
- Verified compatibility with your digital piano model
- Firmware update support and documented reliability
- Clear return policies and warranty coverage
Longevity-Focused Investment Strategy
A longevity-focused strategy starts with selecting components built to last, not just to perform well on launch day. You’ll prioritize robust chassis, reinforced hinges, and rated wear components for the 11‑piece kit, reducing early replacement needs.
Choose digital pianos with proven reliability and durable keybeds, then pair them with accessories designed for long-term use. When evaluating options, weigh material quality, warranty terms, and service networks—these factors boost accessory durability and limit downtime.
Plan for periodic inspection and modest upgrades rather than complete overhauls. Maintain a simple maintenance routine: clean ports, protect cords, and store peripherals properly.
This approach minimizes total cost of ownership while preserving resale value. Emphasize digital piano maintenance and durable accessories to extend usable life and performance consistency.
Conclusion
Here’s your quick conclusion: equip your first digital piano with purpose, not just odds and ends. Prioritize headphones, stands, pedals, and a sturdy bench, then lock in reliable USB/MIDI/audio links and a basic recording kit. A surge-protected power setup protects your investment. With thoughtful choices, you’ll glide from practice to performance smoothly—your setup becomes a well-tuned engine fueling musical progress. In short: smart gear, steady setup, steady growth.
When you’ve just bought your first digital piano, you might think you’re ready to start playing immediately, but investing in the right accessories for your first digital piano can make the difference between awkward, frustrating sessions and comfortable, productive practice that accelerates your learning. Choosing the proper accessories for your first digital piano isn’t about buying unnecessary extras – items like an adjustable bench affect your posture and prevent long-term injury, a quality sustain pedal enables proper musical expression, and a sturdy stand ensures your instrument stays secure during enthusiastic playing.