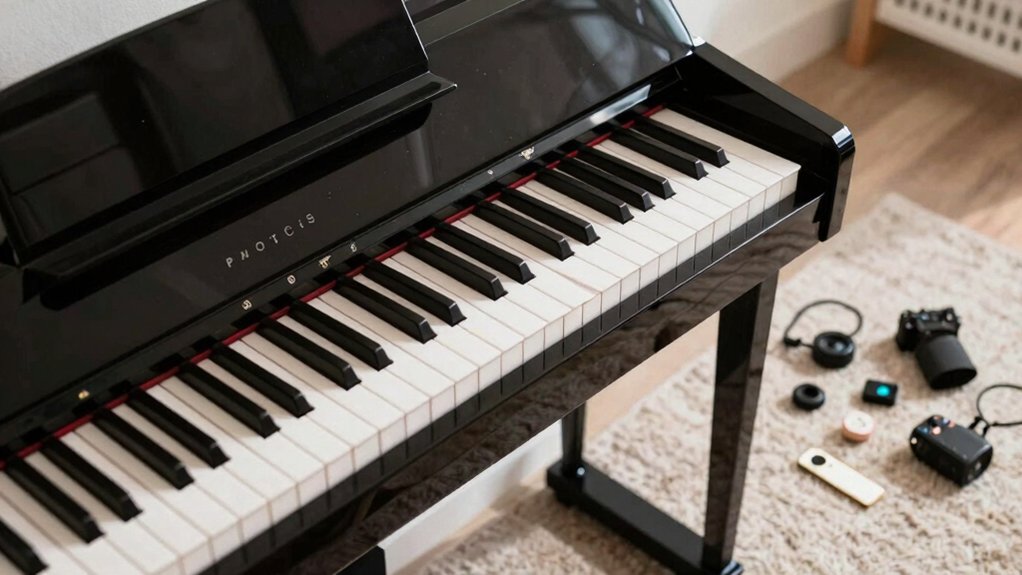
Your digital piano is packed with features that can revolutionize your practice sessions, yet most players never discover these practice hacks that could dramatically accelerate their progress and make those daily sessions far more engaging. These practice hacks for digital pianos take advantage of the technology that acoustic piano players can only dream of – from splitting the keyboard for duet practice to recording your performances for critical self-assessment, all without spending an extra penny on accessories or software.
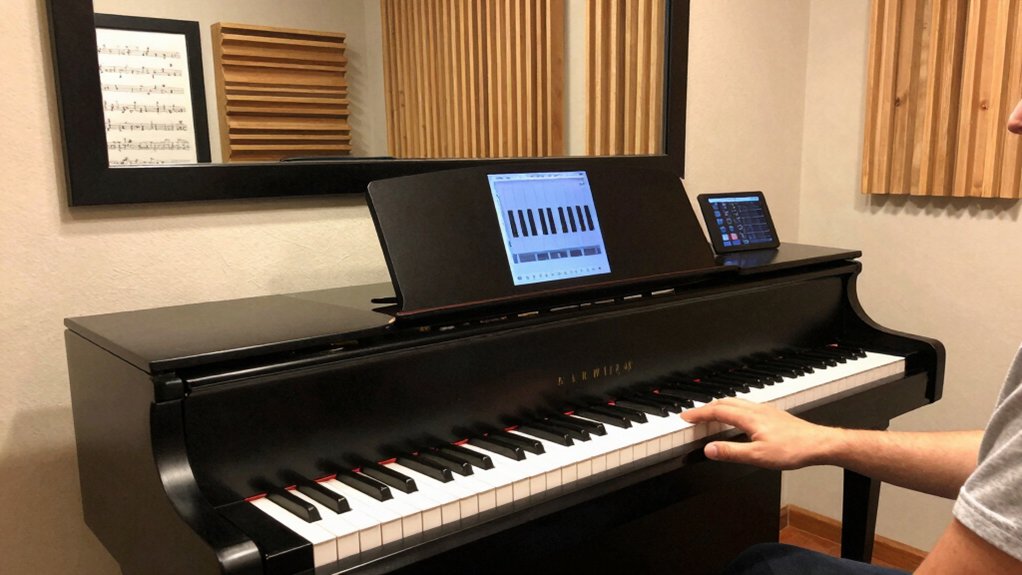
Digital pianos give you a practical edge for practice, with layered and split sounds, editable metronomes, and recording that sharpen timing and self-review. You can tailor zones, labels, and visual cues to map tricky passages, while built-in rhythms and accompaniment add context to scales and drills. Focused, goal-driven sessions and ergonomic setups prevent drift and fatigue, and analyzing your own recordings reveals subtle errors you’d miss otherwise. There’s more to optimize beyond basics, and the next steps are worth pursuing.
Why Digital Pianos Make Practice Easier
Digital pianos simplify practice by offering immediate feedback and consistent sound, so you can focus on technique rather than setup. You’ll notice faster progress because this consistency reduces interpretation errors and lets you audit finger placement, timing, and dynamics in real time.
With editable tempo, metronome, and recording, you can repeat passages until precision improves, then compare against a saved performance to gauge improvement.
Ergonomic design matters: you’ll avoid strain with appropriately positioned keys, chair height, and bench depth, aligning wrists and shoulders for longer sessions. This supports sustainable practice, especially when you’re refining posture and technique.
Also, a clean practice environment setup minimizes distractions, enabling sustained attention, repeatable routines, and reliable measurement of progress over time.
Core Features to Leverage: Layer and Split Modes
Layer and split modes let you tailor tones and zones on the fly, pairing layered tones for richer textures while keeping essential parts clear.
You’ll explore split zone versatility to assign different sounds or ranges to hands, enabling practical practice setups like bass + melody or pads with a lead.
Start with solid preset allocation strategies to organize voices efficiently and switch contexts quickly during sessions.
Layered Tone Pairing
With Layered Tone Pairing, you can stack two voices for a richer sound and map them to separate keyboard zones using Layer and Split modes. You’ll leverage Layer to combine voices into a single note, creating a layered tone that sustains beyond a single timbre.
Then, use Split to assign the layers to distinct key ranges, enabling independent control across the keyboard. This pairing enhances expressiveness for pads, lead lines, or subtle accompaniment.
Focus on balance: match attack, decay, and level so the blend remains clear rather than cluttered. Layered tone should never obscure rhythm or articulation; use dynamic touch to reveal each component.
Practice presets help you compare textures quickly, refining the tone pairing until you achieve a cohesive, responsive performance.
Split Zone Versatility
Split Zone versatility stems from how Layer and Split modes interact to redefine keyboard zones and voice distribution. You’ll map ranges so upper and lower sections carry distinct timbres, then layer them for unique textures without switching programs.
In practice, set a split point to isolate voices or performances, keeping sensitive, dynamic control intact across zones. The multi zone capability lets you stack sounds across separate regions, enabling you to play bass pads on one side while overlaying lead lines on the other.
Use intuitive zone labeling and consistent velocity behavior to maintain expressiveness when crossing the boundary. Keep monitoring the overlap zone to avoid unintended muffling or hybrid tones.
Mastering split zone requires deliberate voicing choices and precise zone boundaries for reliable, overlapping versatility.
Preset Allocation Strategies
Effective preset allocation hinges on how you assign voices across Layer and Split modes. You’ll optimize texture by pairing principal voices with supportive timbres, ensuring keyboard range coverage without muddiness.
In Layer, designate a primary voice for the left and right hands while reserving secondary tones for gentle accompaniment or ambiance. Use Split to map distinct timbres to defined zones, preserving natural hand positions and reducing crossovers.
Consider voice customization to tailor dynamics, attack, and release per zone, so each layer speaks clearly at your typical performance velocity. Balance volume curves to avoid one layer overpowering another; set quiet layers for pads or subtle harmonies.
Document your allocations, revisit after repertoire shifts, and leverage presets to switch configurations quickly during practice.
How to Set up Effective Warm-Ups With the Metronome
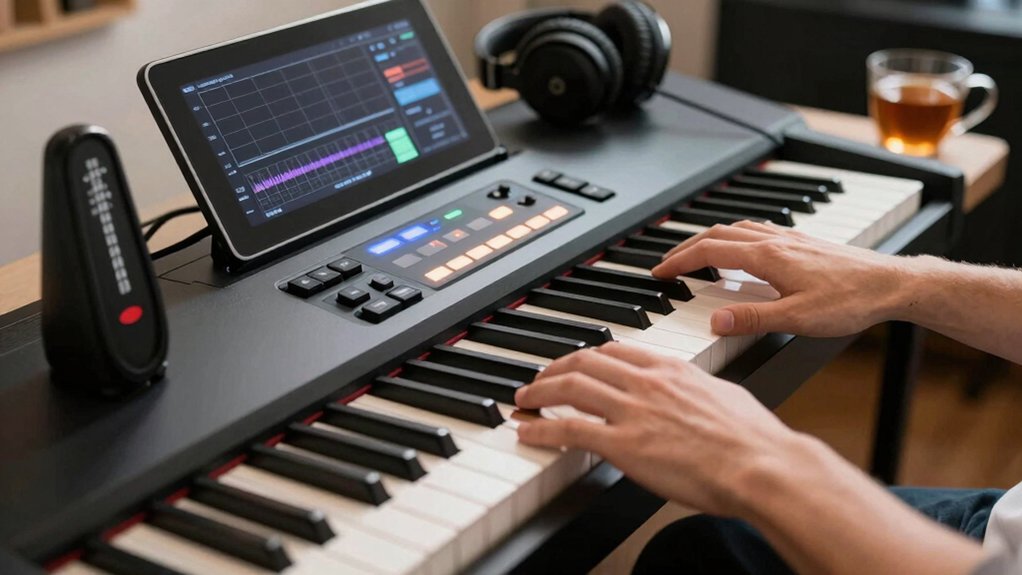
One simple way to start is by setting a metronome at a comfortable tempo and identifying a short routine of scales, arpeggios, and finger exercises that cover each hand separately before integrating them. Begin with 60–72 BPM to establish a clear pulse, then perform two-handed patterns only after each hand plays cleanly.
Focus on even attack, consistent rhythm, and relaxed wrists. Use metronome calibration to verify accuracy for each passage, adjusting as needed to stay within the target beat. Alternate between slow, medium, and fast segments to train tempo consistency across tasks.
Keep sessions brief but frequent, logging tempo goals and any drift. Finish with a full sequence at the chosen tempo to consolidate coordination and reinforce reliable timing.
Pedal Control That Translates to Any Keyboard
You’ll tune pedal responsiveness so it feels consistent across any keyboard, recognizing how a smooth sustain translates to dynamic control.
Use precise foot timing and pedal lift to shape phrasing, pairing the sustain pedal with functional expression rather than just on/off effects.
This discussion centers on sustaining nuance and expressive possibilities that transfer well beyond your current instrument.
Pedal Responsiveness Tips
Mastering pedal responsiveness starts with consistent technique: understand how pedal depth, timing, and release shape each note and phrase across any keyboard. You’ll tune dynamics by locking a stable foot position, minimizing unwanted motion, and aligning pedal depressions with musical punctuation.
Focus on quick, decisive releases to avoid blur between notes, and practice legato by overlapping depress and lift smoothly. Use sustain pedal techniques to sustain essential tones without muddying chords, and differentiate between subtle pedal lifts for phrasing.
Calibrate feel by mapping pedal travel to a consistent MIDI or acoustic response, then log results to guide future sessions. When calibrating, apply pedal calibration tips that translate to both digital and weighted-key action for precise, repeatable performance.
Expression Through Sustain Pedal
The sustain pedal connects your phrasing to the keyboard by shaping note length and overlap in real time. When you press it, you’re granting notes extra sustain, letting melodies breathe and chords merge smoothly. Use it as expressive control: lift slightly to reset legato between notes, or press through to connect voices, creating a legato line.
Maintain consistency by keeping pedal depth steady—avoid abrupt releases that cause unwanted staccato or noise. Practice two-phase timing: fingers hit the key, then you depress the pedal, and release in sync with the phrase’s end. On digital pianos, enable any anti-squeak or half-pedal mode to refine gradation.
Integrate sustain pedal into your dynamics, using it to emphasize phrasing without masking articulation. This technique translates expressiveness across keyboards.
Short, Goal-Driven Practice Cycles for Fast Wins
Short, goal-driven practice cycles cut through complexity by targeting small, measurable wins. You design mini sessions that focus on one technique, one passage, or one tempo. Set a concrete outcome for each cycle, such as hitting a specific measure at a target tempo without errors, then move on once achieved.
Use quick feedback loops: count errors, note sections that stall, adjust immediately. Pair this with motivation techniques that reinforce progress, like tracking milestones in a practice log and rewarding measurable improvements.
Build your schedule around brief, high-intensity blocks, then recover briefly before the next cycle. Emphasize practice scheduling: allocate fixed daily slots, rotate targets to cover repertoire evenly, and avoid overloading single sessions.
This structure accelerates skill gains without bloating practice time.
Visual Aids: Color Coding Hands and Patterns for Tricky Passages
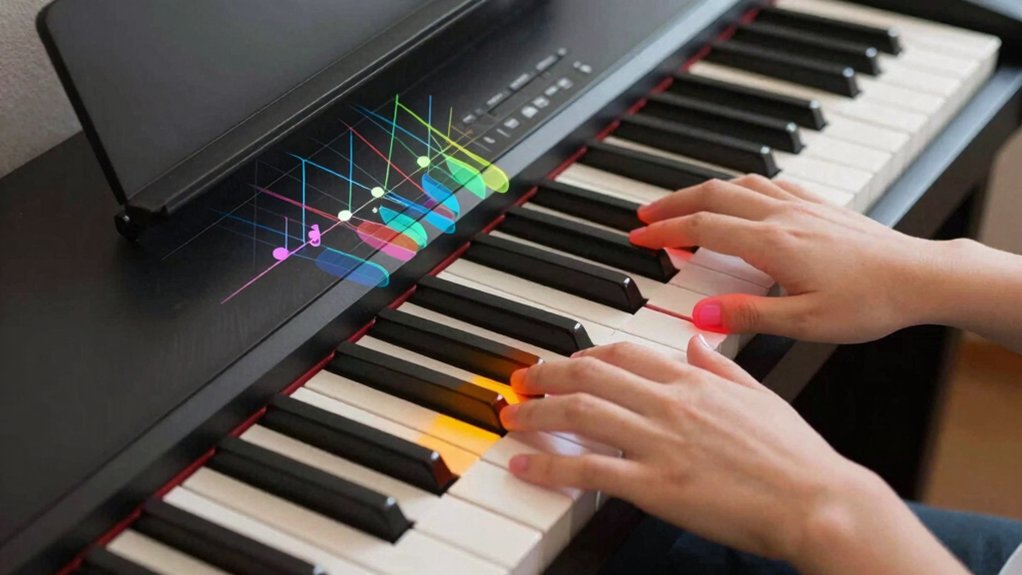
Color coding hands and patterns helps you see relationships across tricky passages at a glance. You implement color coding to map notes to fingering, revealing cross-staff connections and recurring intervals. Use distinct shades for each hand, then annotate patterns that repeat within a measure or phrase. This visual cueing speeds recognition, letting you anticipate progressions rather than react.
When you encounter leaps or chromatic runs, color highlights show how hand patterns align, helping you maintain fingerings and tempo. Keep labels simple: color coding for hands, another set for note groups. Practice with a focused diagram before playing, so your muscle memory reinforces the identified patterns.
The result is quicker, more accurate navigation through tough sections without guessing.
Hands-Separate Drills to Master Difficult Sections
How can separate-hand practice accelerate mastery of tough passages? You isolate each hand to build precise timing and tactile feedback, then combine for robust execution. Focused drills demand deliberate tempo, steady pulse, and clean note separation, reinforcing finger independence and hand coordination.
Begin with hands apart at a slow tempo, marking each note’s onset and release. Increase complexity gradually, then synchronize hands while maintaining even articulation. Use repetition with deliberate variance to stress control, not speed.
Endurance gains come from short but regular sessions, not marathon runs. Track progress by comparing first and last attempts to reveal subtle timing shifts.
- Isolate hands to sharpen finger independence and timing
- Build coordination by progressive synchronization
- Reinforce consistent articulation under tempo changes
Using Built-In Rhythm and Accompaniment for Context
Using built-in rhythm and accompaniment features can ground practice and reveal alignment issues quickly. You’ll leverage rhythm customization to set tempo, groove, and swing without altering your hands’ timing.
Activate accompaniment layering to add bass, pads, or chords that mirror your melody, helping you hear how parts fit together. Begin with a simple pattern and state-switch to notice mismatches between your rhythm and the backing track.
Use consistent attack and release settings so the accompaniment doesn’t mask timing errors. Turn off playback when you need to audit hand alignment, then re-enable to confirm fixes.
Focus on sync between your melody line and accompaniment. Prioritize clarity over complexity; a clean, well-matched texture accelerates technical gains and musical accuracy.
Track Progress With Playlists and Quick-Session Checks
Tracking progress becomes tangible when you pair playlists with quick-session checks. You’ll assemble playlists that match your goals, then run brief, objective checks to confirm progress.
Use music theory and technique exercises as anchors to measure improvement across sessions. Quantify each session by a simple rubric: accuracy, tempo stability, and consistency of dynamics. Quick checks keep you honest and prevent overreliance on feel alone.
- Track tempo and accuracy for each exercise
- Note deviations, then adjust practice focus
- Compare weekly results to confirm growth
This approach makes progress visible, not abstract, and helps you refine both technique and theory integration.
Conclusion
You’ll wonder how you ever practiced without these nine digital-pocket hacks. Layered sounds, split modes, and editable metronomes turn idle minutes into precision-tuned workouts. Visual grips like color coding and hand-specific drills collapse confusion into clarity. Built-in rhythms add context, while goal-driven, short sessions turbocharge progress. You’ll hear cleaner timing, sharper passages, and smoother progression—without burnout. In short, digital pianos don’t just help you practice; they supercharge it, turning potential into undeniable performance gains.